
How-to: Set Up MikroTik Back To Home via the BTH APP
MikroTik's new Back To Home feature allows you to connect to your home network quickly, securely, and easily from anywhere in the world. This is accomplished with a WireGuard VPN tunnel and MikroTik relay servers.
In this article we will enable the Back To Home (BTH) Functionality via the Back To Home app for Android and iOS
Please keep in mind that this feature is available only on MikroTik devices running RouterOS with the following CPU architectures: ARM/ARM64/TILE.
Make sure you have your smartphone nearby and the Back To Home app downloaded on it. If not, you can download it from the Apple Appstore or Google Play Store.
If you don't have your smartphone nearby right now, you can also enable BTH via Winbox Webfig or RouterOS CLI by following this tutorial.
For the initial setup, you need to ensure you have a connection that allows you to access the router with WinBox. This can be done from your local network, via a public IP (if public IP management is enabled on your router), or through NAT if your router does not have a public IP.
We will start by downloading the Back To Home application on your iOS/Android smartphone.
When you open the application, you will see the home screen:
Tap the Create New button to go to the setup page.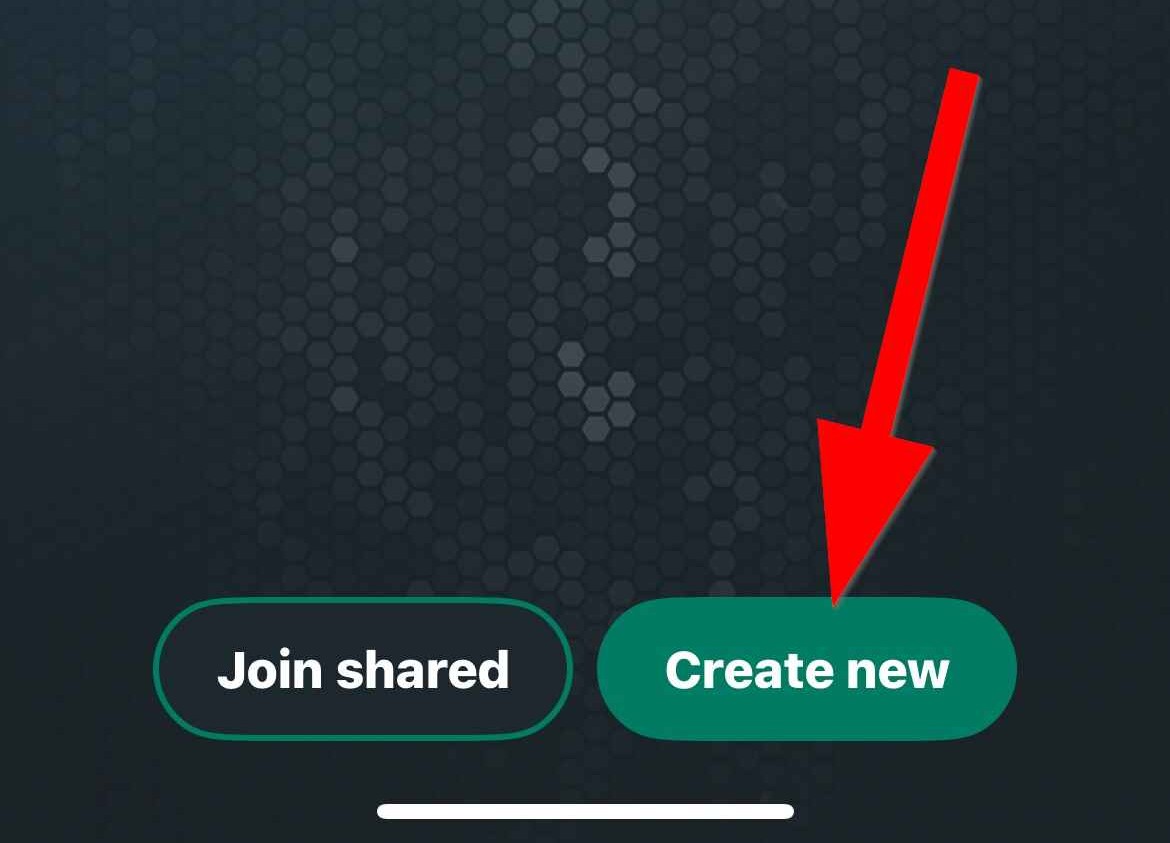
On the next screen enter the credentials for the user account you want to use (username/password) and the IP/FQDN (e.g., yourmikrotik.ip) from which
you connect to manage your router. After tapping the Connect button, the application will connect to your router and take you to the tunnel setup page.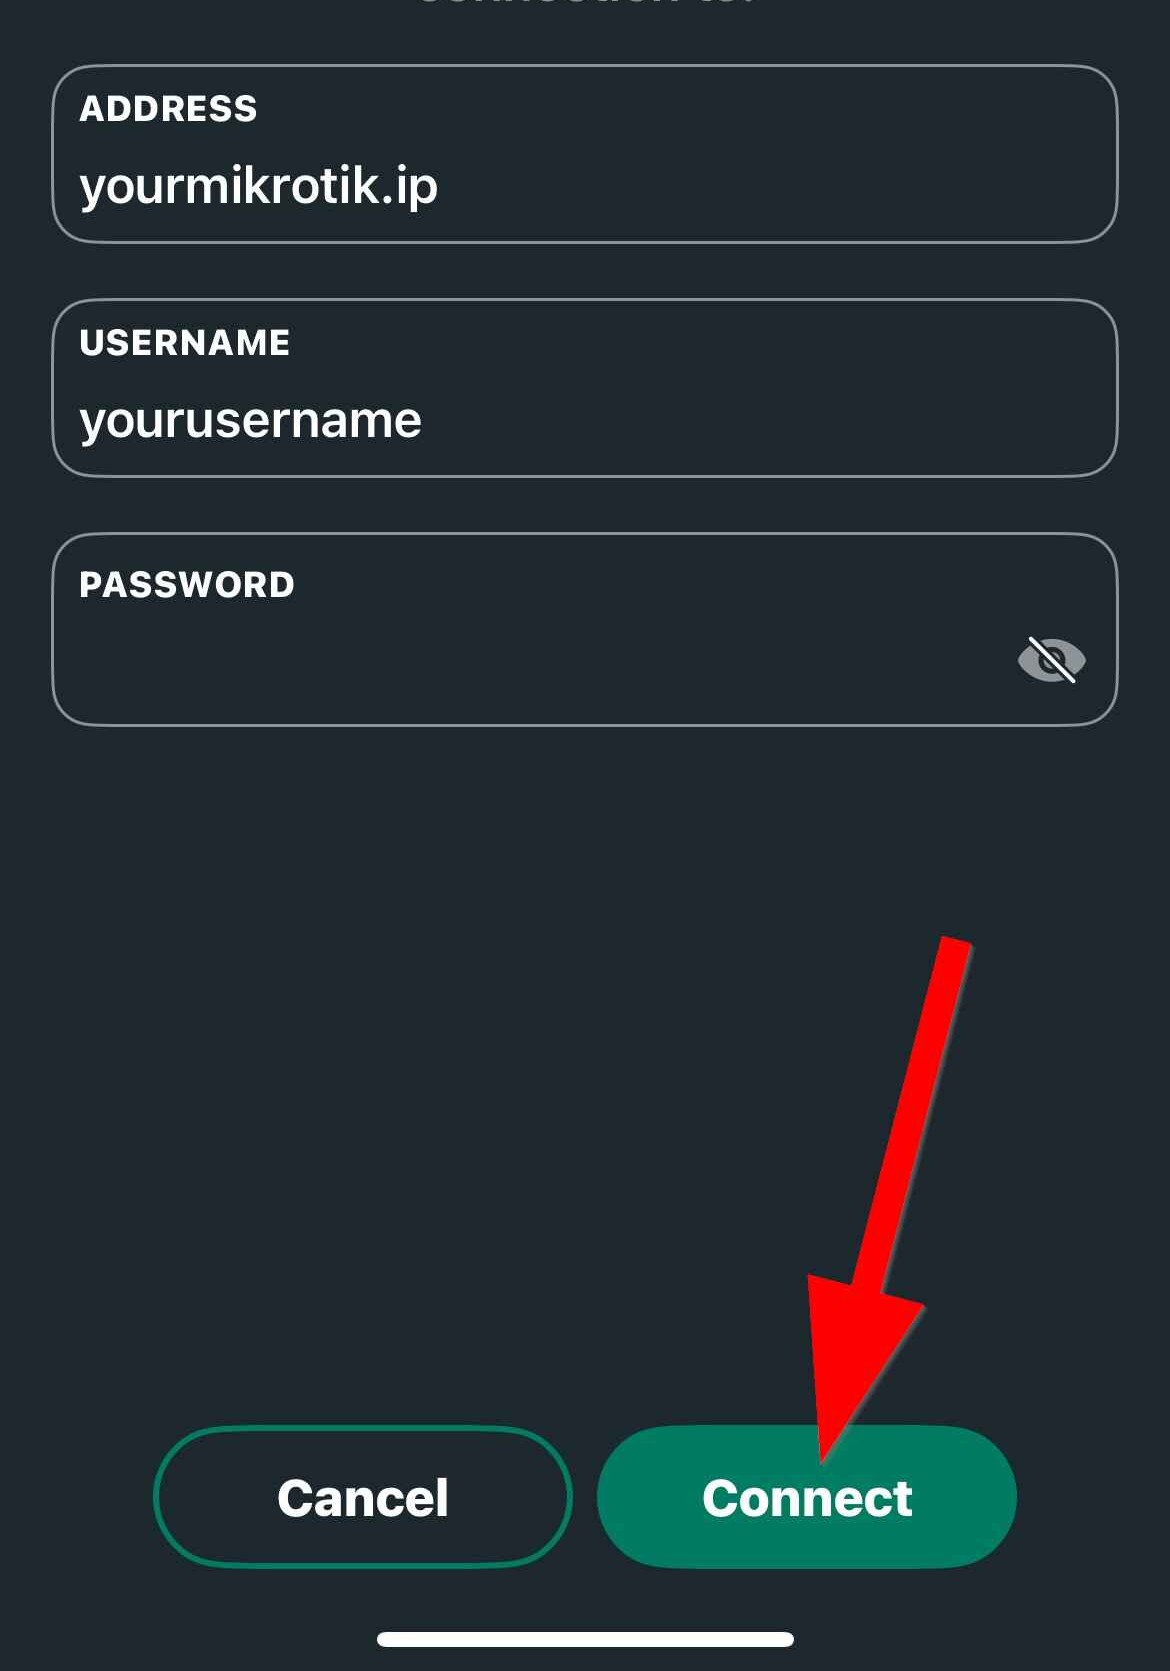
You will be prompted to give the WireGuard tunnel a name for easy management. You will also find two additional menus: File Access and Advanced Settings, accessible by tapping the small down arrows on the right.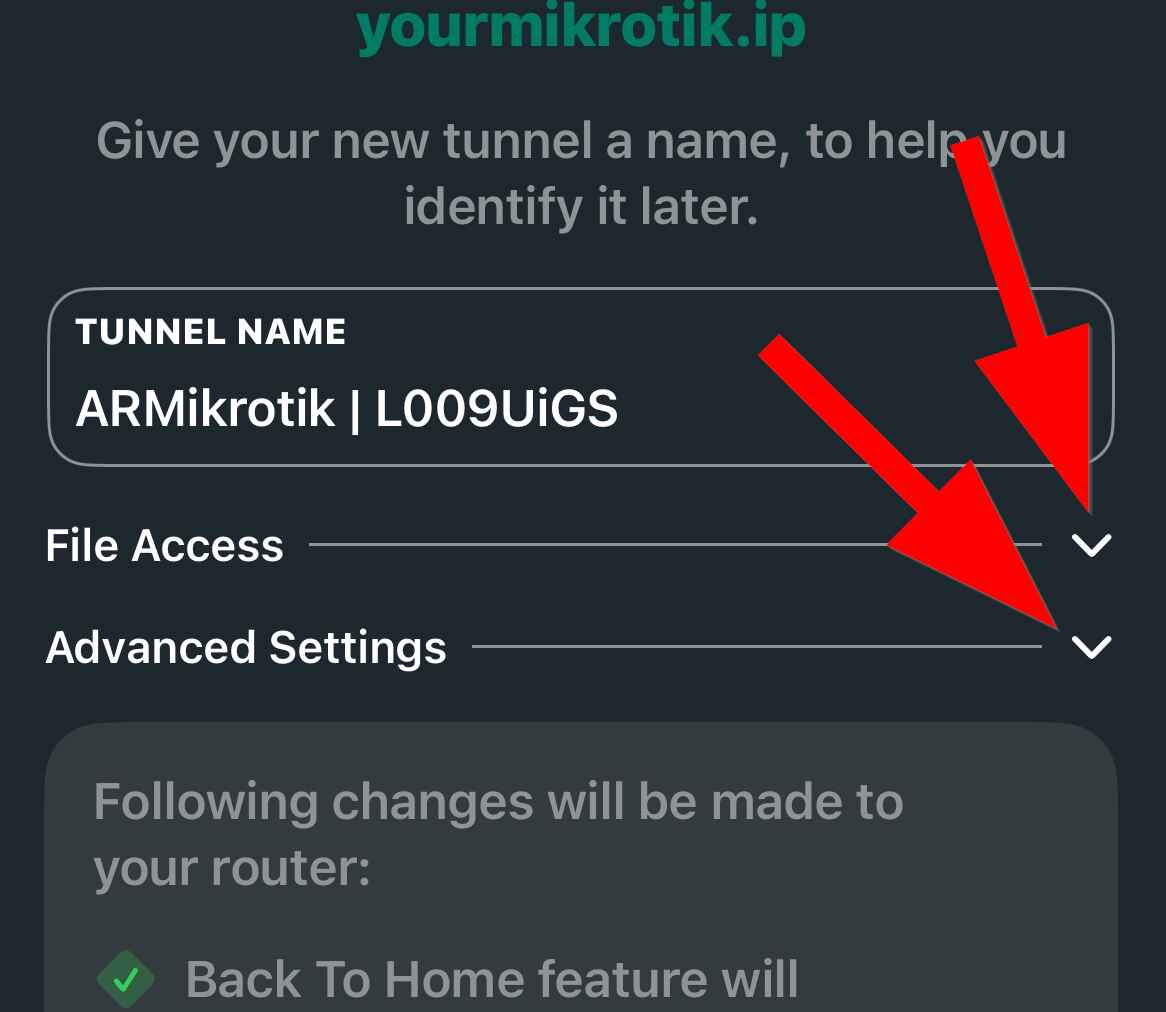
In the File Access menu, you can configure options that allow the user to access files stored on your MikroTik router.
Here, you can set the user’s permissions (Read-only or Full) or disable file access altogether. You can also specify the folder in your Mikrotik device's storage you want the user to access.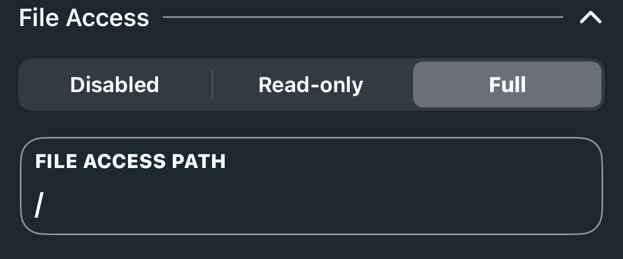
Warning: It is recommended to use a folder made specifically for file sharing. Using the root directory of your router (/) is not recommended, as the user with this path can access system files from "The Dude", "Hotspot" and "skins", backups and all other files stored in it. Users with full access to the root directory can delete these files, or upload malicious .npk files that will run malicious code after reboot.
In the Advanced Settings menu, you can choose whether to use the router’s DNS by toggling the Use Router DNS switch.
Below that, you can add a list of IPv4 and IPv6 addresses to which you want to connect through the VPN tunnel.
The default is 0.0.0.0/0, ::/0, which means that all traffic from the device will be routed through the tunnel.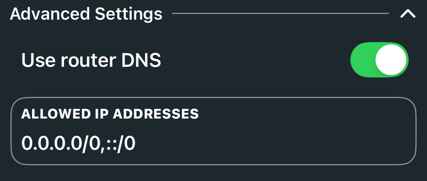
Note: If you want to allow connections only to specific subnets or IP addresses, we recommend turning off the Use Router DNS option, as it may cause issues unless the router DNS is reachable trough the tunnel.
When you turn off Use Router DNS, you will see the following options:
In the first field (Green Arrow), you can add a specific DNS IP (e.g., 1.1.1.1, 8.8.8.8). If left empty, the application will use the phone’s DNS.
In the second field (Red Arrow), you can enter the specific IP addresses/subnets you want to tunnel to.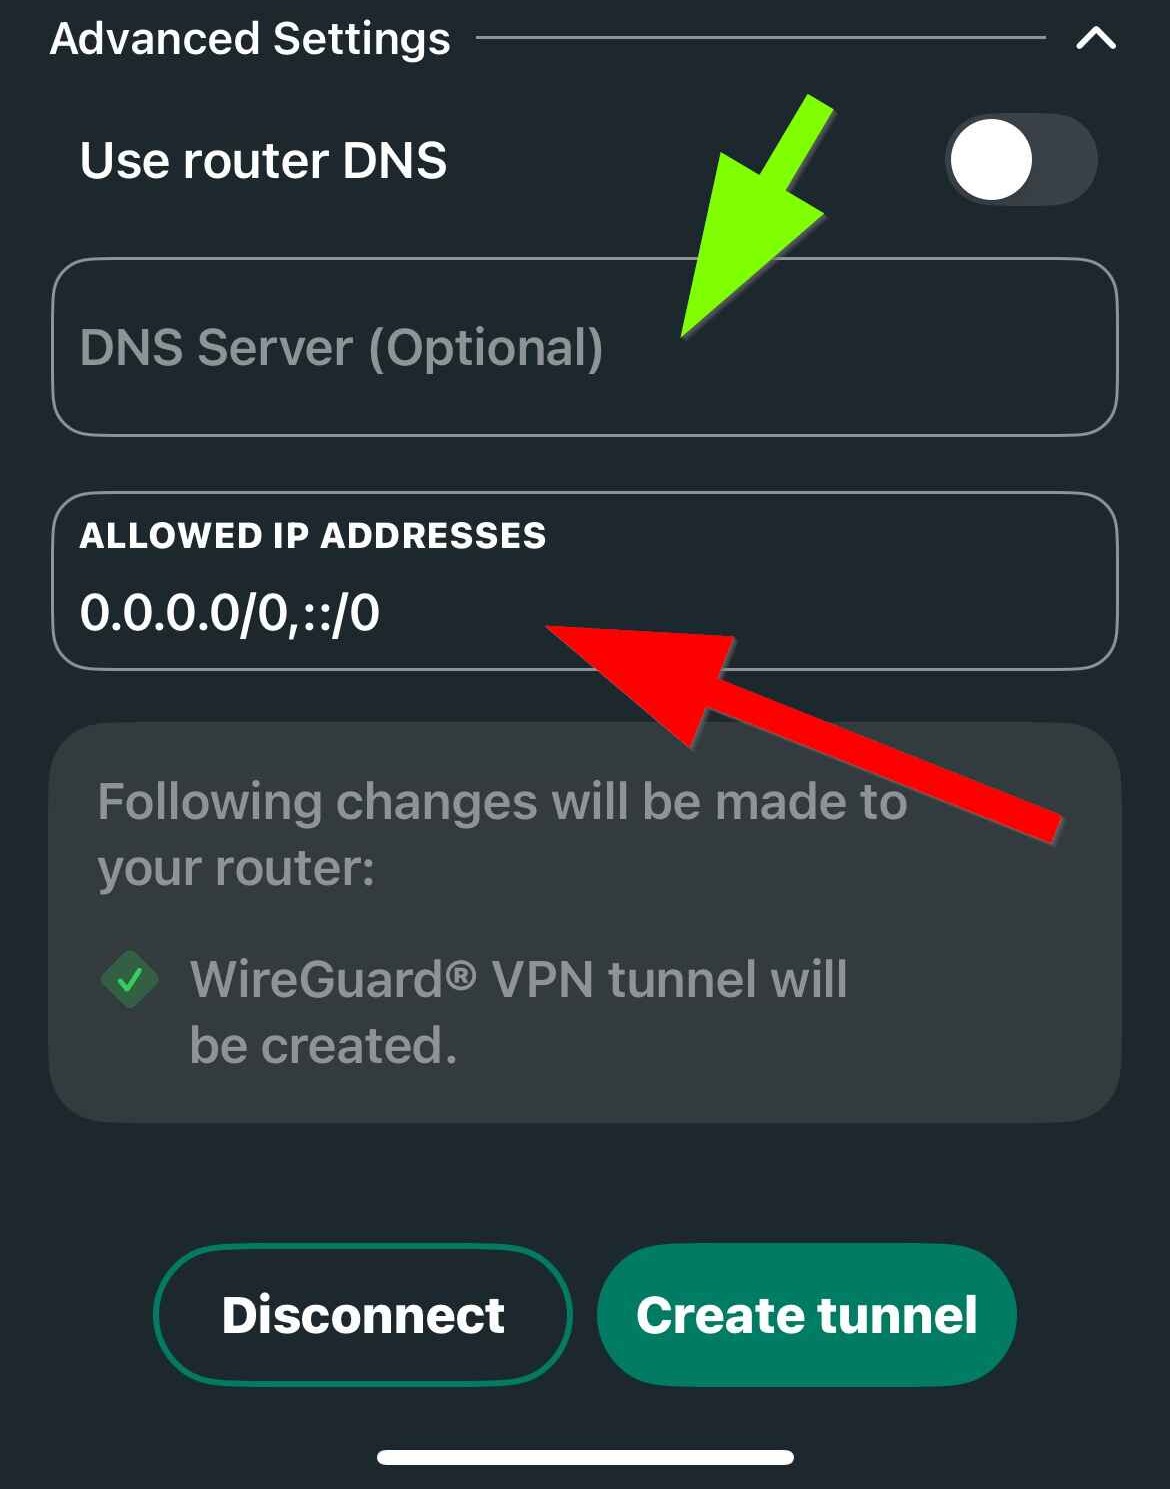
Hint: If you wish to add a single IP address use netmask /32 for IPv4, and /128 for IPv6.
After completing the setup, tap the Create Tunnel button at the bottom-right corner. This will configure the router to enable the Back To Home feature, and create the WireGuard tunnel.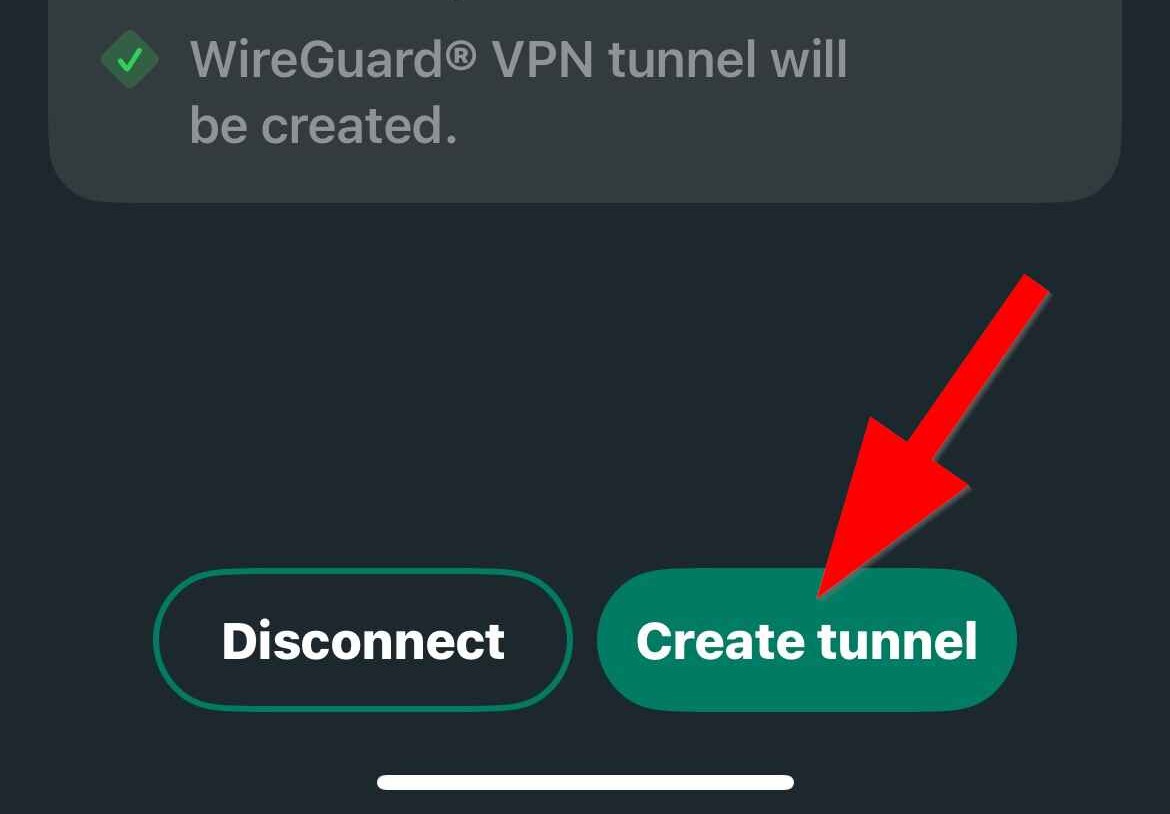
You may be asked to allow the app to configure VPN settings on your phone.
You will then be taken to the main screen of the application, where you can manage your tunnels and access additional settings.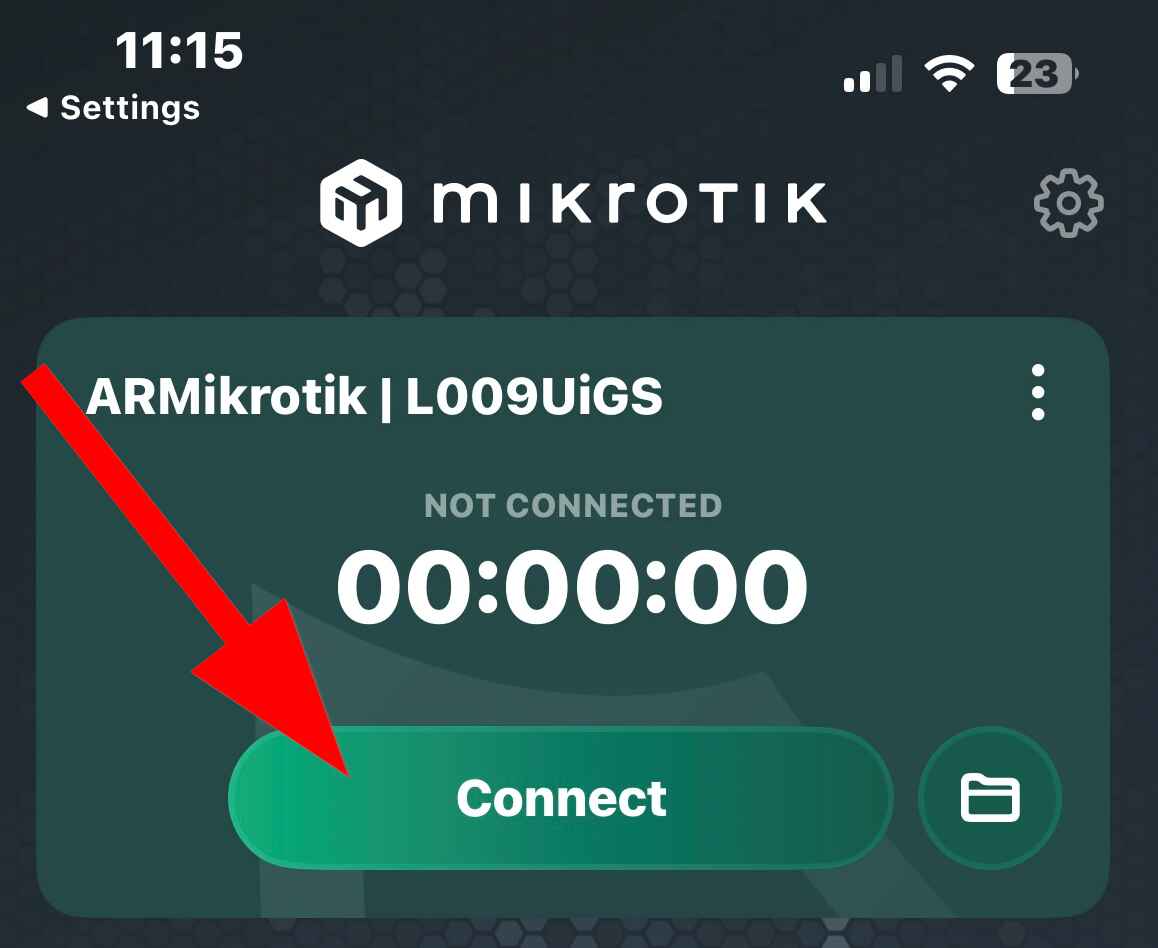
From here, pressing the Connect button will allow you to connect to your home network using the WireGuard VPN tunnel you just set up.
Initial setup of your Back to Home application is done. You can now access your home network, home internet and files from everywhere in the world.
The only thing left to do is to add your other devices to you new Back to Home VPN. you can create additional connections and users by folowing our BTH User management article