Using Wordpress Themes
In general, the WordPress Theme gives your website a graphical interface. A theme is a collection of files which provide your blog, for example, with a character and tone. It can change how the website is displayed and seen but it does not make any alterations to the software itself. Themes may include individualized templates, images (*.jpg,*.gif), style sheets (*.css), custom pages, and even code files (*.php).
Where can you find cool themes?
You can get new and attractive designs for your website from the official WordPress site for themes - WordPress Theme Directory.
Advantages:
- Free
- Wide variety of themes
- Regularly checked for security and compatibility
Disadvantages:
- Limited set of features
- Simplified design
- Less customization
Additionally, you can also check out websites like ThemeForest, Elegant Themes which offer a wide variety of premium themes.
Advantages:
- Huge collection of themes
- Diverse styles and features
- Regular updates
- Support from the authors
Disadvantages:
- Paid
- Some themes may be overly complex
- Not all themes come with guaranteed quality
How to install a theme?
Once you have selected a theme and have downloaded it, you need to access your site's admin page, then go to Appearance -> Themes and select Add New.
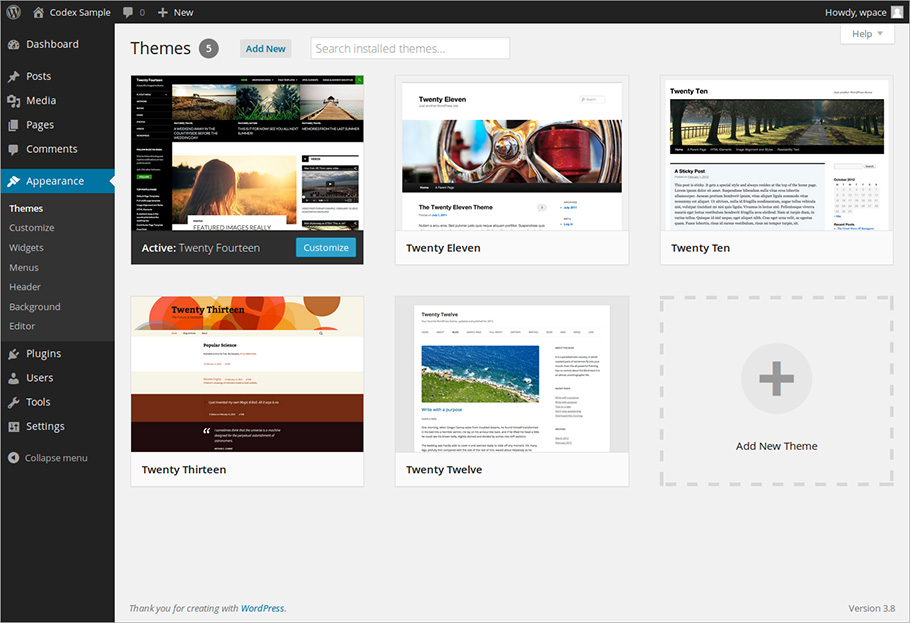
You will then be redirected to a window where you will be able to see all of the themes which you have installed until now. To add a new one, hit the Install Themes tab. There are two ways to add a new theme.
- You can use the Search or Filter options to see a Theme which you would like to use from the WordPress.org theme directory.
- You can upload a theme from your local hard drive by using the Upload link in the top links row.
After this press the Live Preview button to see the Theme.
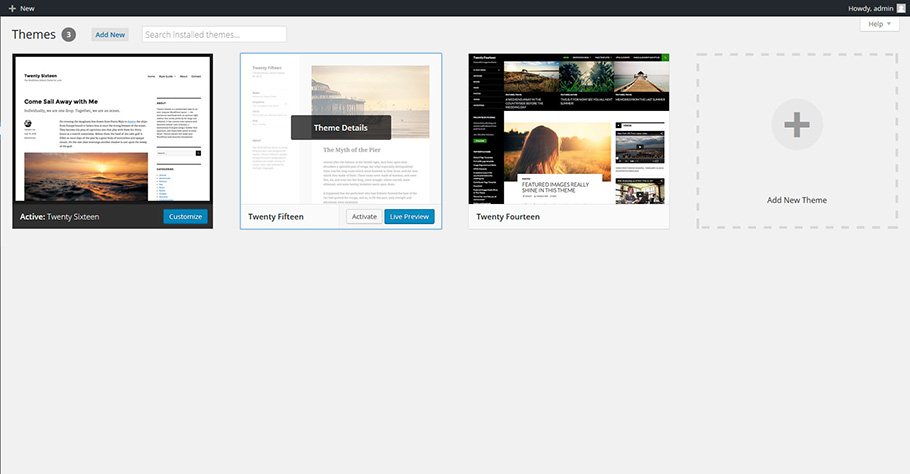
Selecting and installing a theme from the official WordPress theme directory
The official WordPress theme directory lists all of the themes and allows you to look for a specific theme from the site's admin panel. Every single one of the themes placed in the directory should have Tags which outline its functionality. This way you can search for the right theme very easily and quickly, without having to check it one by one. If you know the name of the theme, you can simply search for it.
However, if that’s not possible, you can use the Feature Filter where you can write specific tags (like Purple, Three columns, etc.), press the Apply Filters button and you will be given the results that meet your search. After that click on Install and you will be ready to go.
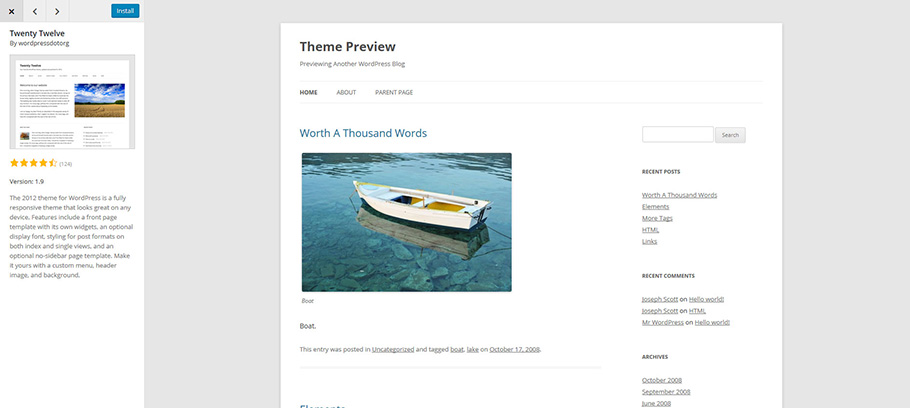
When the WordPress application has downloaded and installed the theme for you, all you need to do is press the Activate button that will appear on the next page.

Selecting and uploading an already downloaded theme
To do that go to Themes -> Install Themes section in WordPress and click on the Upload button which is positioned at the top of the page.

Next, press the Choose File button, select the archive of your theme from your local computer and click on Install Now.
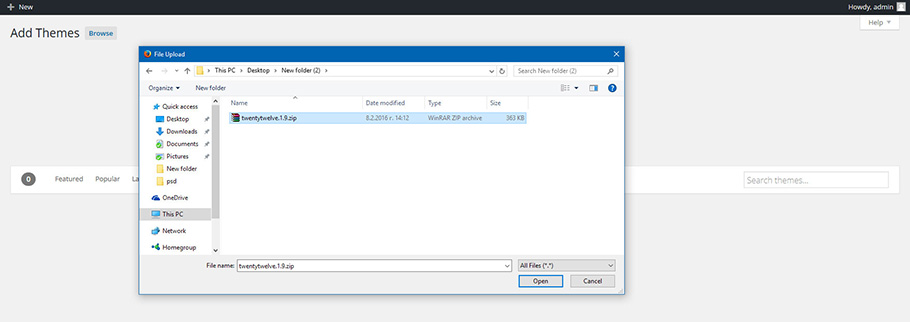
Shortly after, the archive will be automatically uploaded and extracted for you and all you have to do after that is to press Activate.

That’s all! You can now go to the front end of your site and check your newly applied theme.
Customizing your themes from within the admin panel
There are various changes and customization options for you to make on your website, depending on the theme you have previously chosen to use. To begin with the modifications go to Appearance -> Themes page. After that see what the active theme is and click on Customize (the button next to the theme’s title).
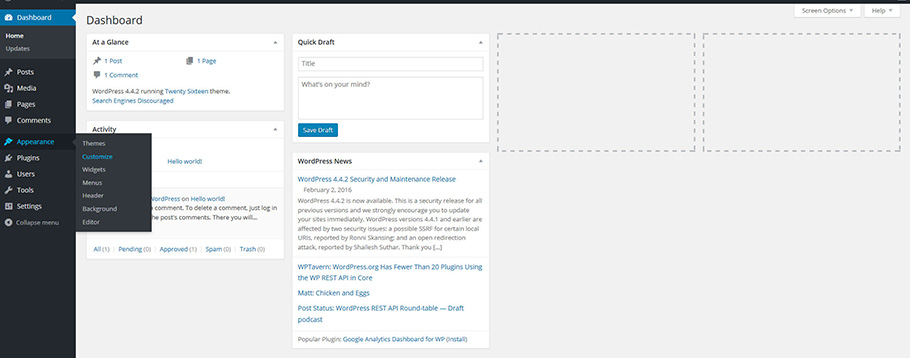
Then you will be redirected to a page where you can start the customization process. You will see different tabs depending on your theme (i.e. Site Title & Tagline; Colors, Static Front Page). Expand the one that you want to modify and after changes have been made, click on Save & Publish.

