Setup OpenVPN Connect Client in iPhone iOS
In this article, we will show you how to connect your iPhone to your OpenVPN Server. We have already set up an OpenVPN server in this article.
IMPORTANT: The date on the router must be within the range of the installed certificates valid period. To prevent certificate verification issues, enable NTP synchronization on both the server and the client.
The process is similar to the Windows client. We only need to embed our certificates, keys and credentials in our .ovpn file.
First, download the OpenVPN Connect Client, officially maintained by OpenVPN, from the Appstore.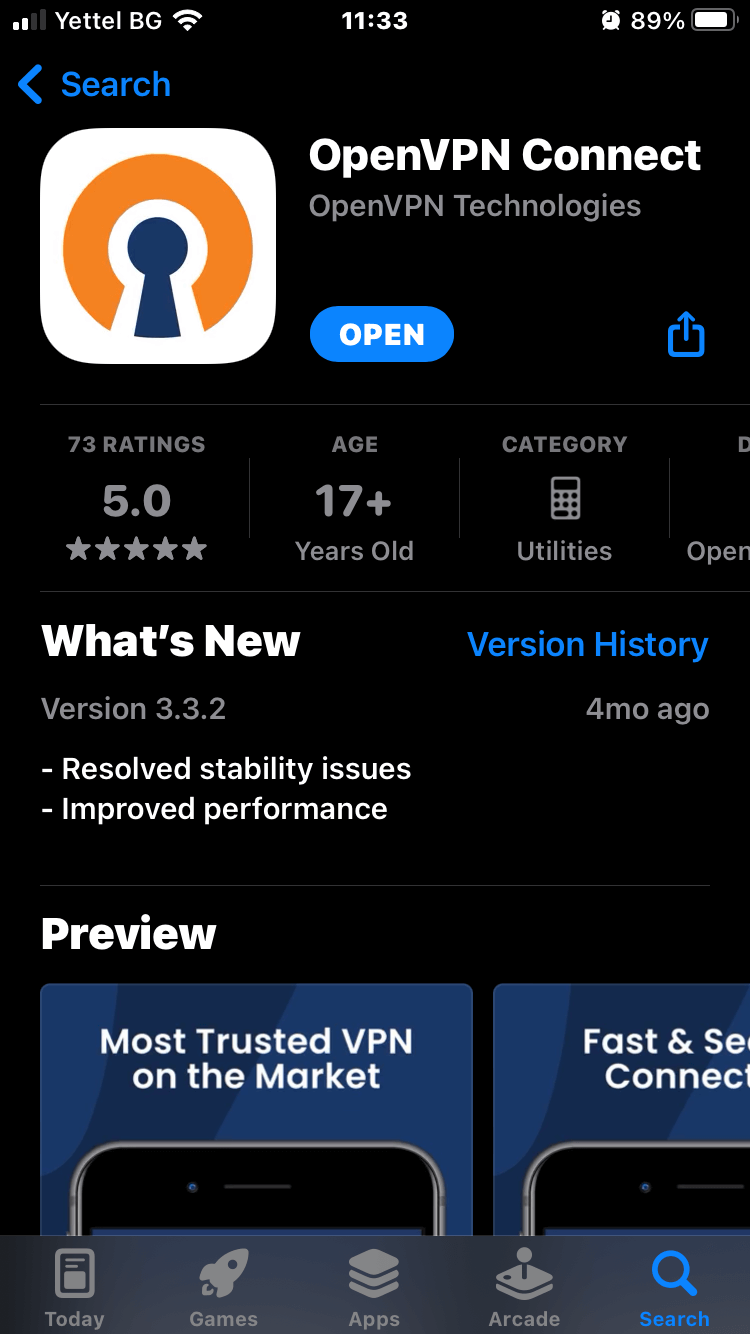
After you download the client, you need to prepare an .ovpn file, that contains:
- the CA certificate (.crt)
- the Client certificate (.crt)
- the Client certificate key (.key)
- the server configuration
- the credentials for the secret
Log in to your Mikrotik CHR and then go to System>Certificates. We'll export the Client certificate first by right-clicking it and select Export.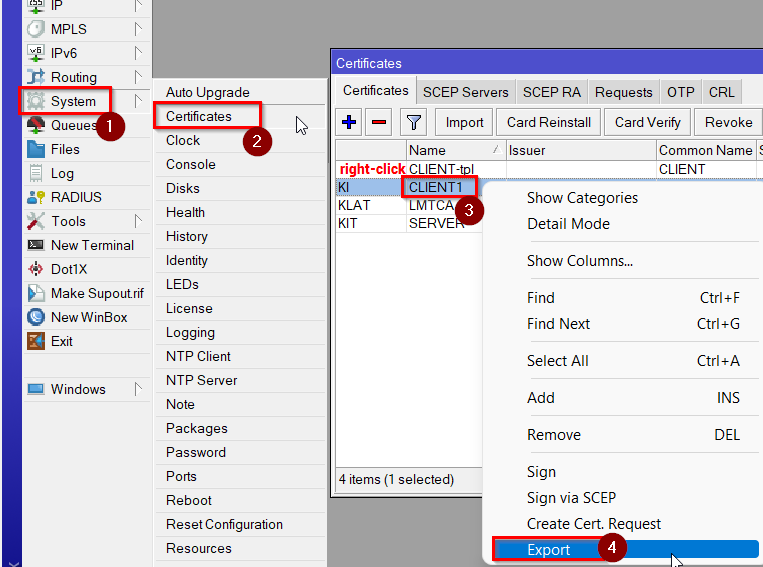
Enter a passphrase of your choice and click on "Export". You will get a key file with your Client certificate. 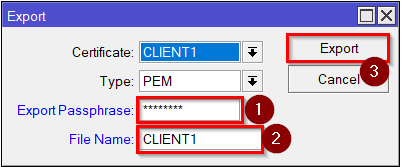
RouterOS Command:
[admin@MikroTik] > /certificate export-certificate CLIENT1 export-passphrase=12345678
Then export the CA certificate without a passphrase.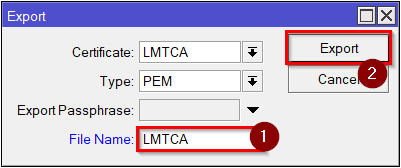
RouterOS Command:
[admin@MikroTik] > /certificate export-certificate LMTCA export-passphrase=""
Click on Files. You will see the exported certificates and keys in the root directory. Download them by dragging them to a folder.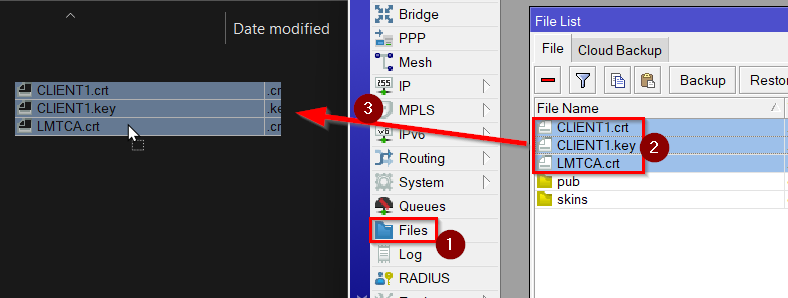
This time, we will embed the certificates and secret in the .ovpn file. In a text editor paste this example configuration, change the values according to your OpenVPN Server configuration and paste the certificate contents, key contents and credentials. Then save it.
Example .OVPN configuration file:
client
dev tun
proto tcp-client
remote IP address of your Mikrotik CHR
port 1194
nobind
persist-key
persist-tun
tls-client
remote-cert-tls server
verb 4
mute 10
cipher AES-256-CBC
data-ciphers AES-256-CBC
auth SHA1
auth-nocache
;redirect-gateway def1 #remove semicolon for full redirect
<ca>
-----BEGIN CERTIFICATE-----
Contents of the CA certificate
-----END CERTIFICATE-----
</ca>
<cert>
-----BEGIN CERTIFICATE-----
Contents of the SERVER certificate
-----END CERTIFICATE-----
</cert>
<key>
-----BEGIN ENCRYPTED PRIVATE KEY-----
Contents of the private key
-----END ENCRYPTED PRIVATE KEY-----
</key>
<auth-user-pass>
Username
Password
</auth-user-pass>
Transfer the .ovpn file to a cloud storage, such as iCloud, OneDrive, Google Drive, or airdrop it to your iPhone. Then share the file and select OpenVPN.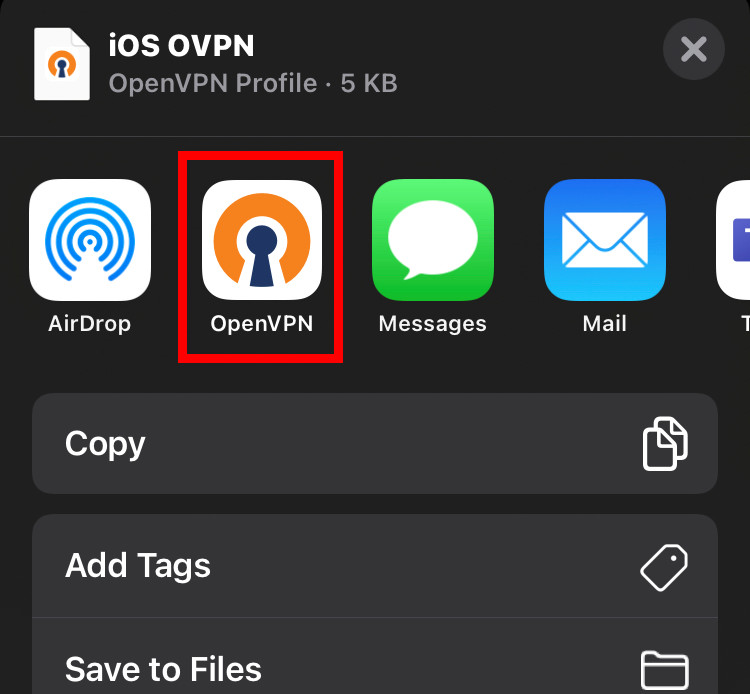
Then the file will show up in the OpenVPN Connect app. Tap on Add.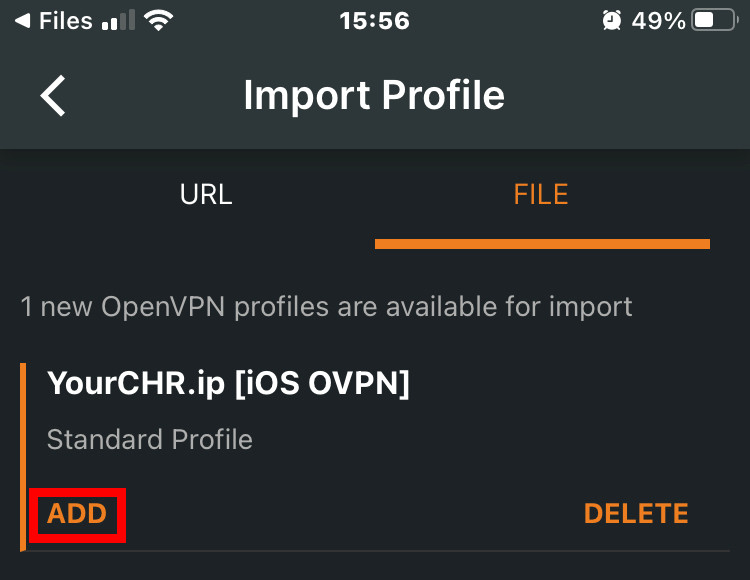
Name the profile as you like and if you want, check the Save Private Key Password, and enter the passphrase you've set. Tap on Connect.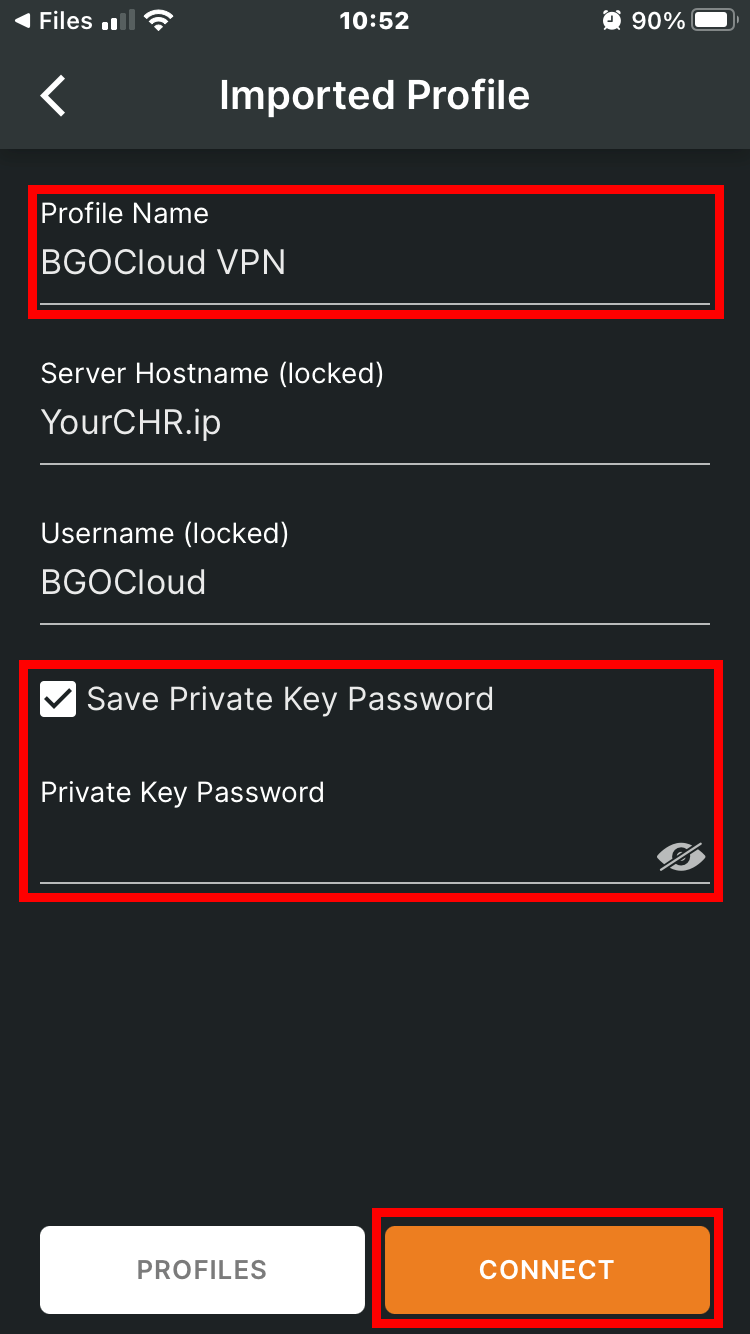
If it asks about adding a VPN connection to your phone, allow it.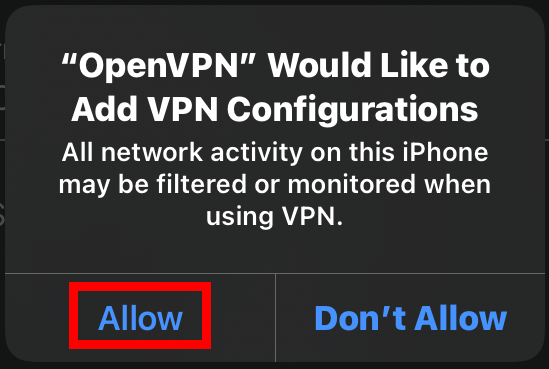
And that’s it. You can now connect to the internet via your MikroTik Device using OpenVPN.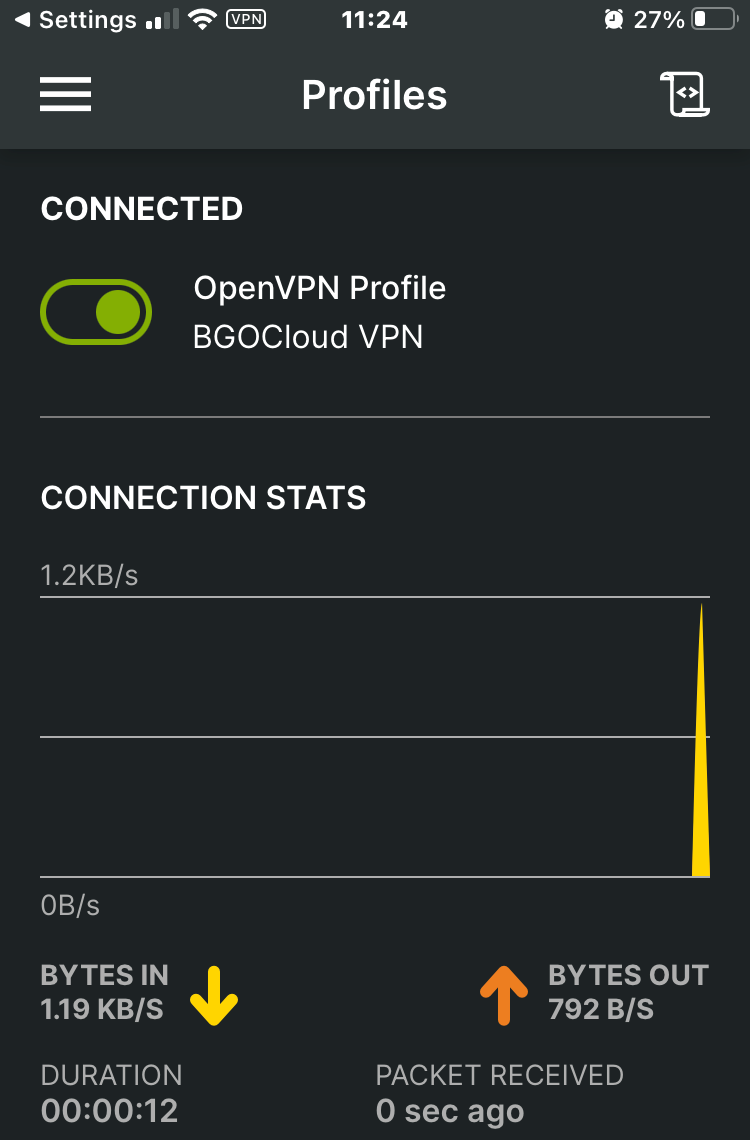
You can later access it from the OpenVPN Connect app simply by tapping on the switch next to your profile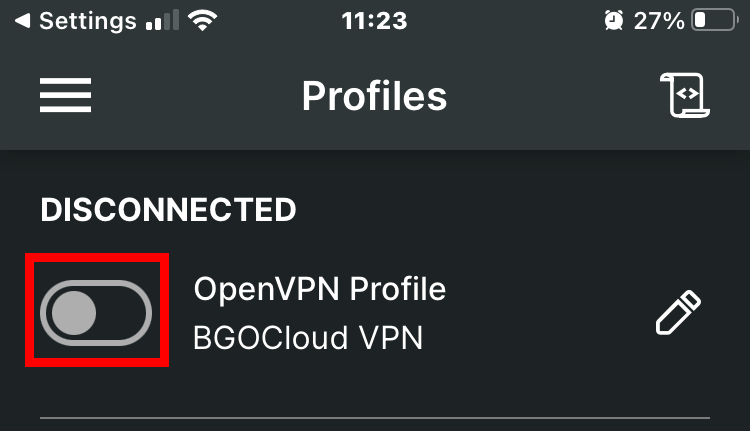
Check our powerful MikroTik CHR plans and make your own VPN server.
Please take a look at our powerful Mikrotik Cloud Hosted routers and choose your hosting solution.
You can decide to make your own VPN or rent a good and cheap dedicated server.
We have a tremendous and reliable Webhosting service.
If this is hard for you, you can take a look at our fast and secure OpenVPN Hosting plans. Easier and quicker to set up, more secure and it's ready in 5 minutes.

