How to: Connecting iPhone IOS to OpenVPN Access Server
Apart from delivering the best hosting solutions and OpenVPN servers, we at BGOcloud aim at providing the necessary help documents and how-to you can more easily guides so start using our services.
In this quick guide, we will show you how to connect your iPhone phone to your new OpenVPN Access server in just a couple of clicks.
Let’s get started.
Step 1: Install OpenVPN Connect Client
After you buy your BGOcloud OpenVPN server, install the OpenVPN Connect Client from Apple App Store.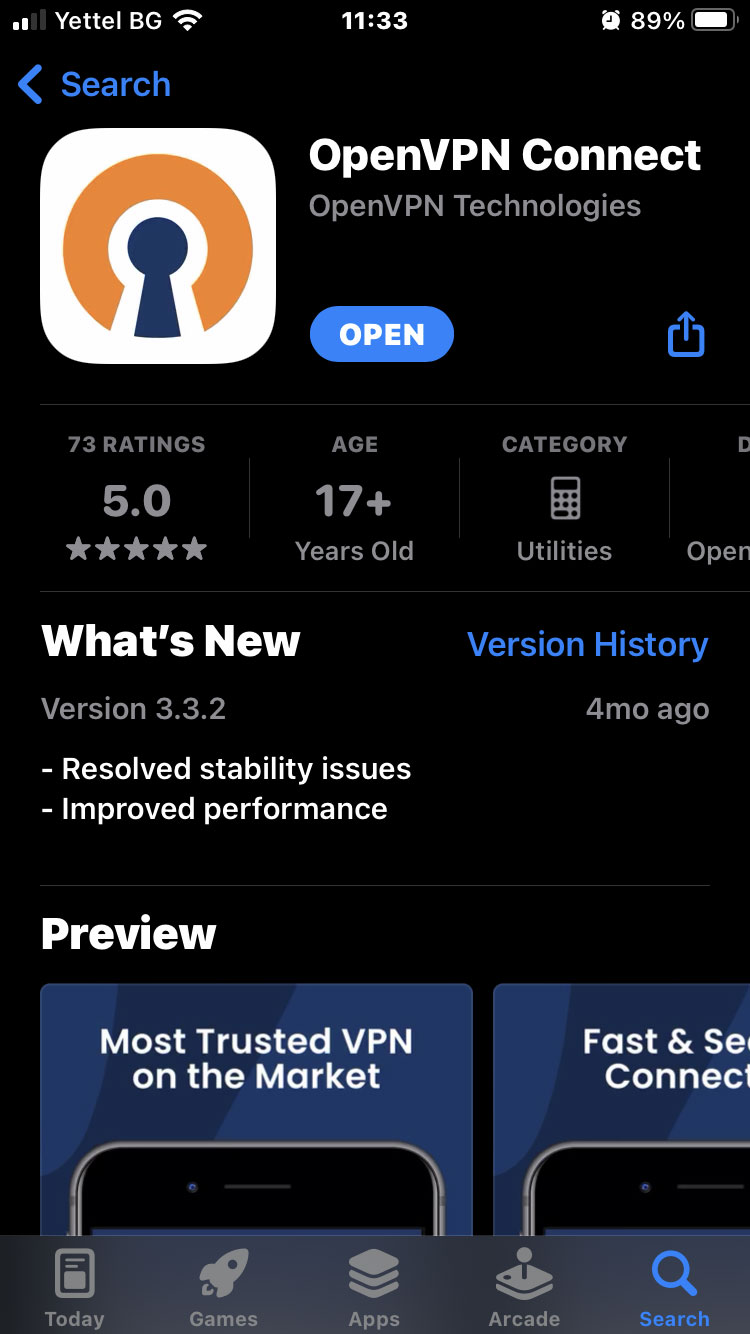
Step 2: Accepting The Self-Signed Certificate
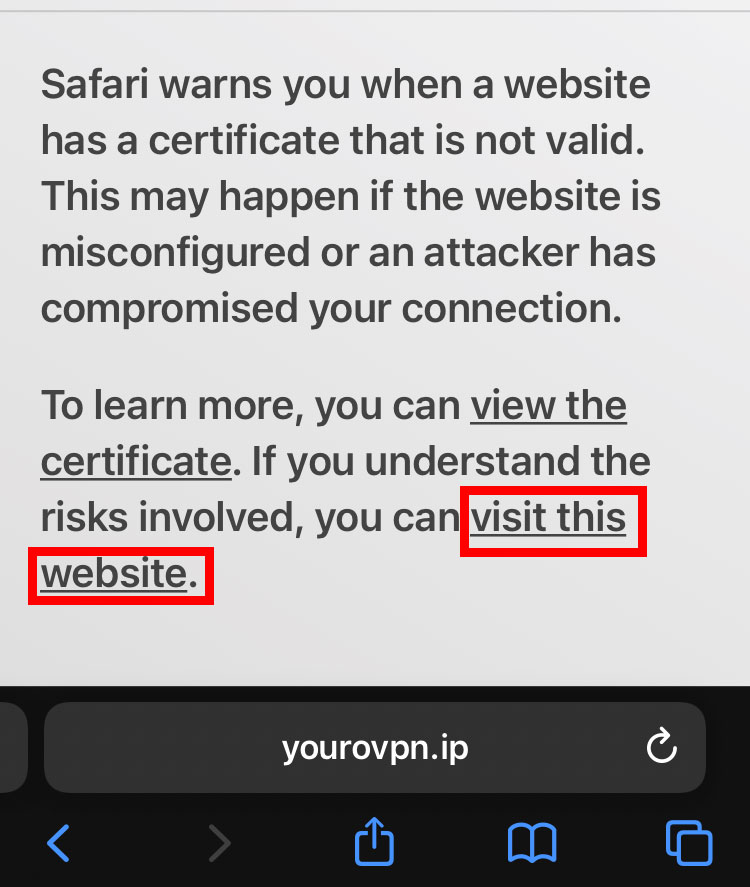
Go to https://<your OpenVPN Access Server IP> in your browser. You can see your IP in the e-mail we have sent you or in the client area. It will display a self-signed certificate warning. Your BGOcloud OpenVPN server generates a self-signed certificate specially for itself. Just tap on “Show details” and then on “visit this website.”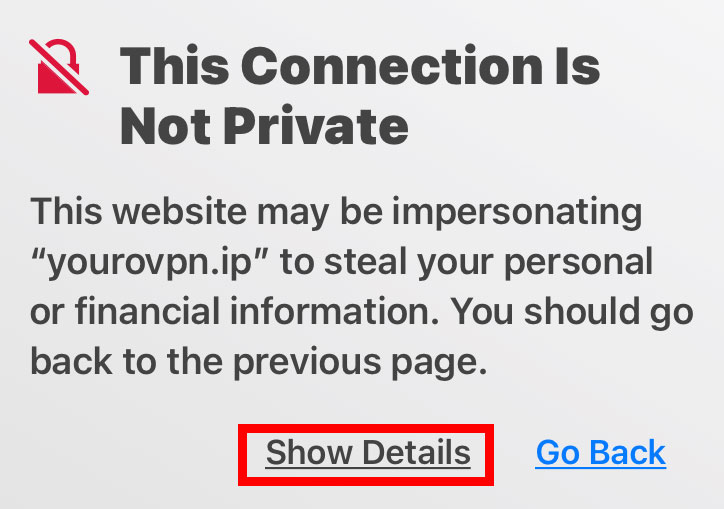
Tap again on “Visit Website” to access your OpenVPN server.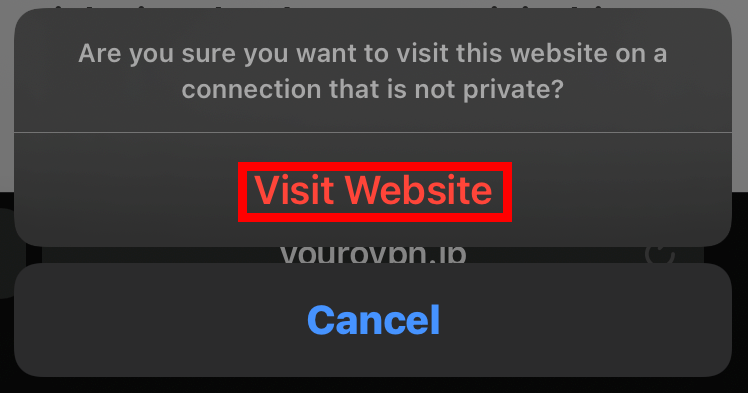
Step 3: Entering Credentials
Then enter your credentials. For a new OpenVPN Access server, the username is “openvpn” as shown below and the password is your VPS root password. You can find them in the E-mail you received from us.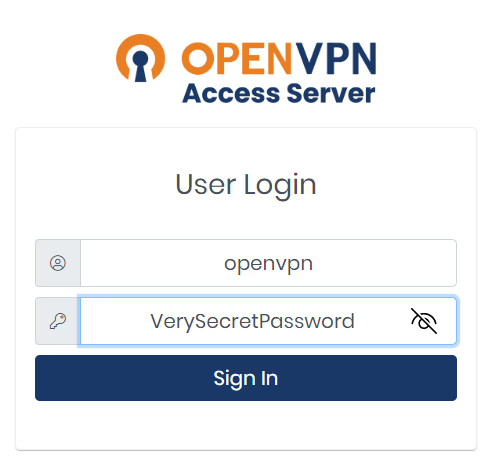
Step 4: Downloading Profile
You will be presented with clients for most OS. Since you’ve already downloaded the OpenVPN Connect Client, you will need to download only the profile. Scroll a bit and tap on “Yourself (user-locked profile)”.
Step 5: Importing Your Profile
Open the file and share it.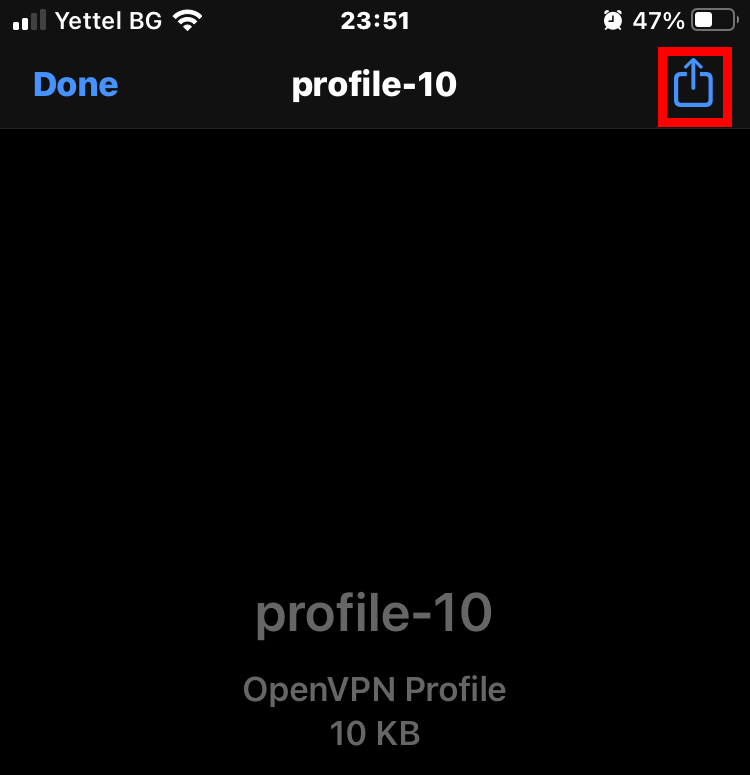
Then tap on OpenVPN to import the profile.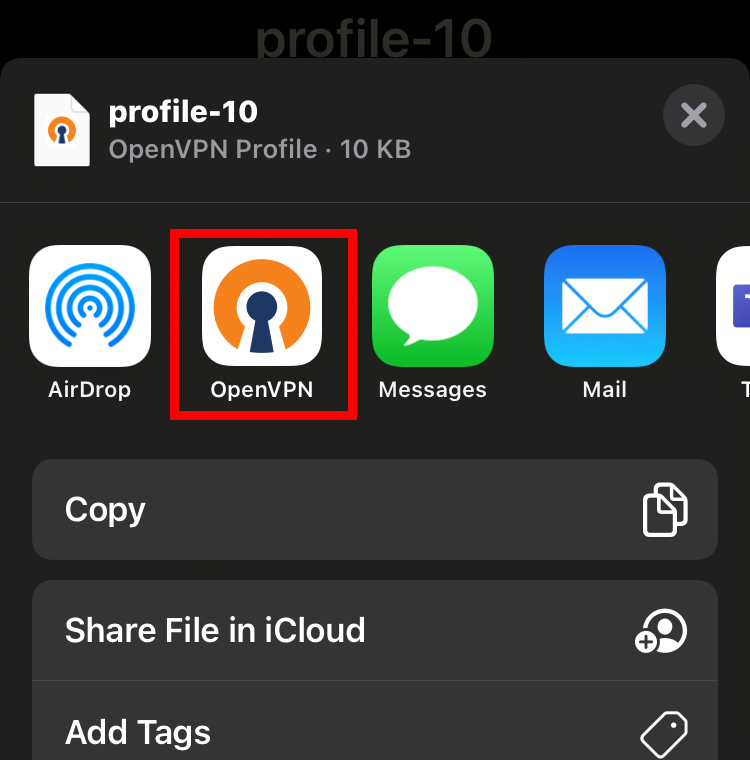
Tap on “ADD”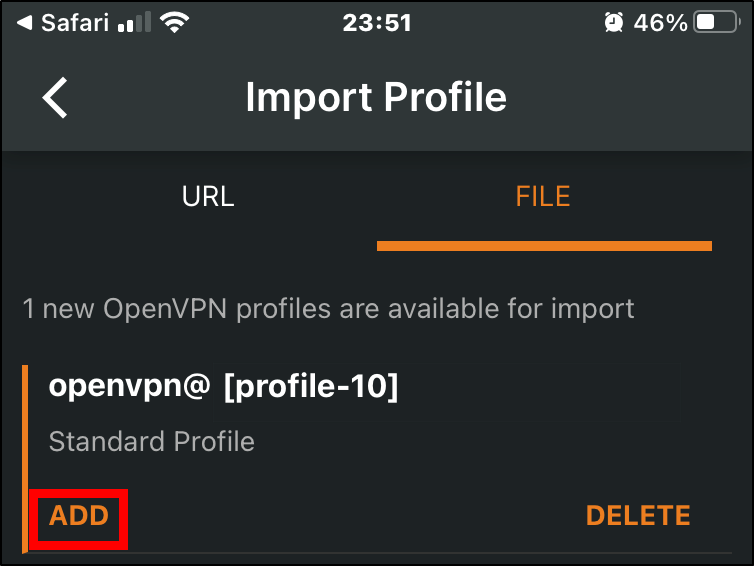
Step 6: OpenVPN Access Server Profile Customizations
After that, if you want, you can change the profile name and save the user password by checking Save Password and entering it in the field below. To test the connection, tap on “CONNECT”.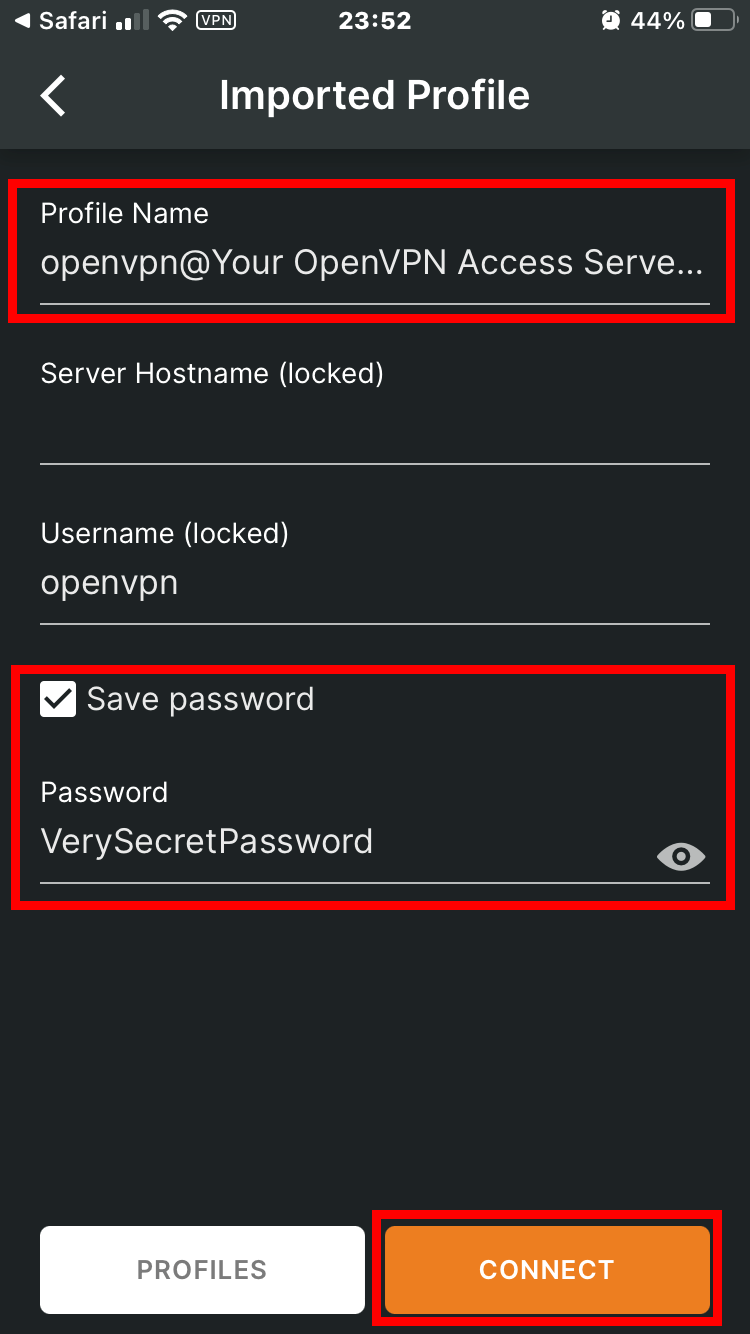
If you’ve chosen not to save your password, enter it and tap on “OK”.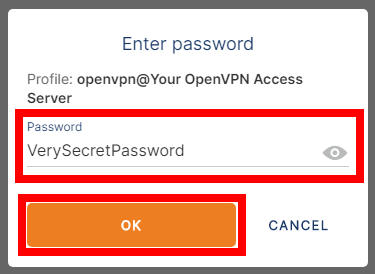
And that’s it. You can see that you are connected by the VPN icon on your status bar.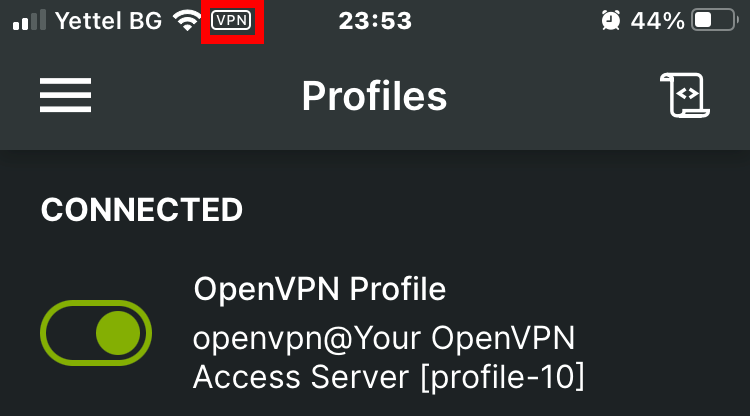
If you have multiple devices or use different Operating Systems, you can read the rest of our guides here:
Connecting Linux to OpenVPN Access Server via APT
Connecting Windows PC to OpenVPN Access Server
Connecting macOS devices to OpenVPN Access Server
Connecting Android phones to OpenVPN Access Server
Take a look at our fast and secure OpenVPN Hosting and choose the appropriate plan for your needs.

