
Connecting Android and IOS to WireGuard VPN hosted in MikroTik
This guide covers connecting your Android or iPhone to a WireGuard VPN server running on a MikroTik Cloud Hosted Router (CHR) or any physical MikroTik device running RouterOS v7. If you have not set up the server yet, start with our WireGuard server setup guide. It only takes a few minutes..
Table of Contents
Download the official WireGuard client from your app store. Any WireGuard-compatible client will work, but the official apps from the WireGuard team are the most reliable and kept up to date.
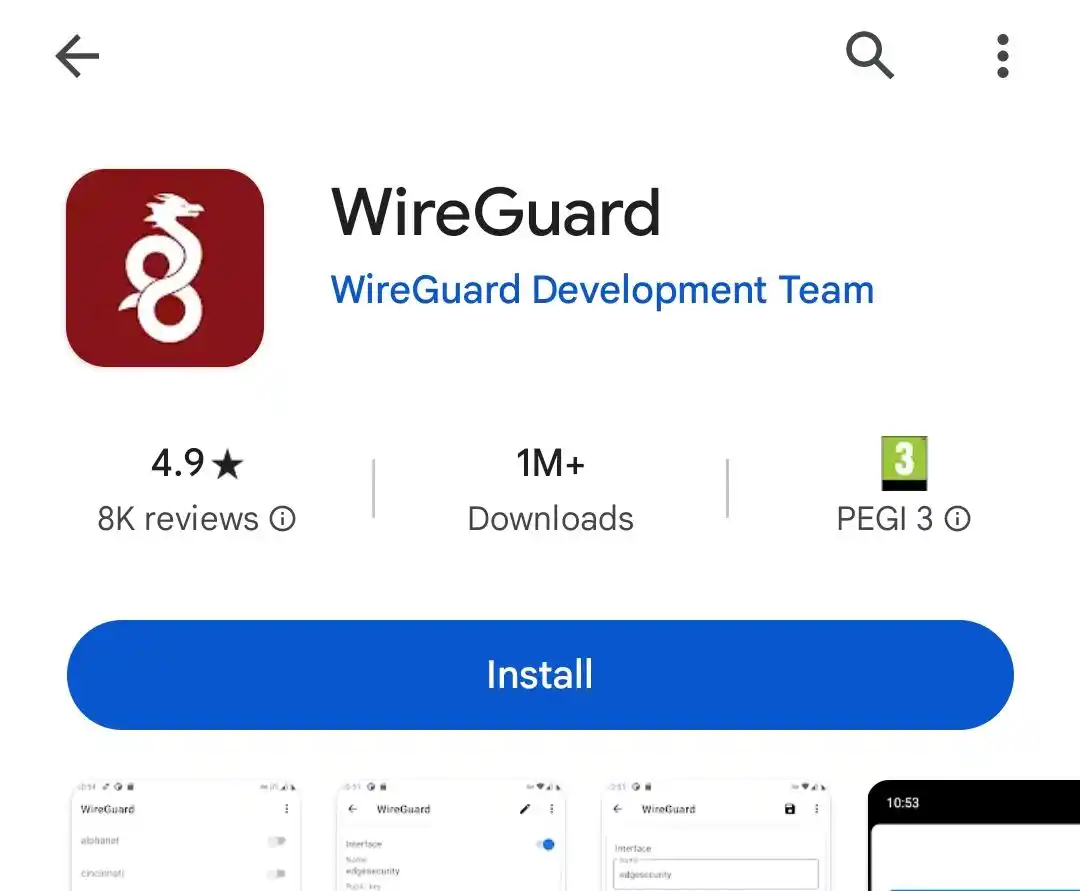
Android: WireGuard on Google Play
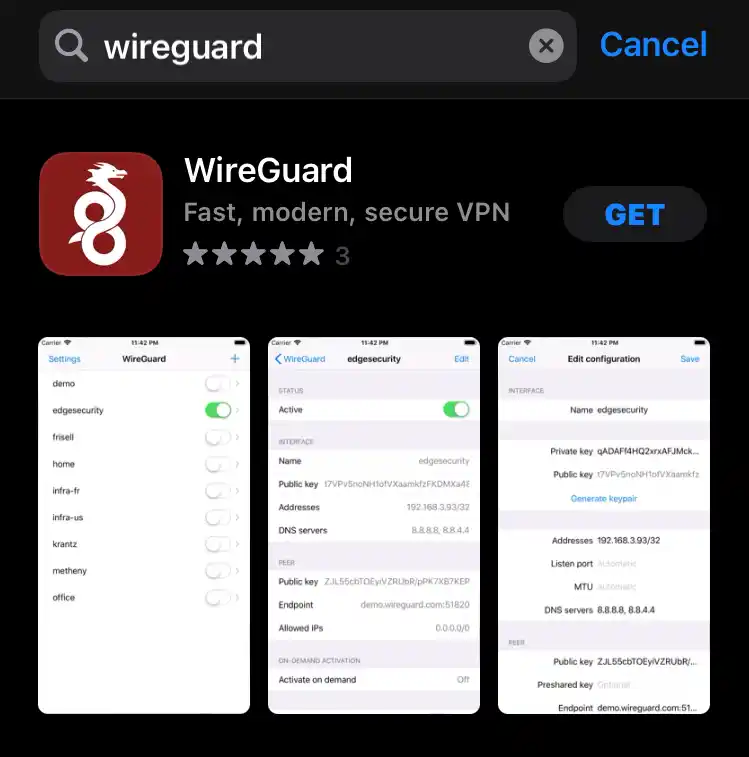
iPhone / iOS: WireGuard on the App Store
In WinBox or WebFig, go to WireGuard > Peers and click + to add a new peer. Each peer represents one device that connects to your VPN. Fill in the following fields:
- Name (RouterOS 7.15+) - give it a recognisable name, e.g.
Android1oriPhone-Work - Interface - select your WireGuard interface (e.g.
wg1) - Private Key - set to
auto- RouterOS will generate the key pair for you - Allowed Address & Client Address - the IP address that will be assigned to this device; must be within your WireGuard subnet (e.g.
192.168.34.2/32) - Client DNS - the DNS server the device will use; you can enter a public DNS like
1.1.1.1, or the address of a local resolver running on your CHR - Client Endpoint - your CHR's public IP address or domain name
- Client Allowed Address (RouterOS 7.21+) - set to
0.0.0.0/0to route all traffic through the VPN, or specific IP addresses/networks in CIDR format for partial tunneling.
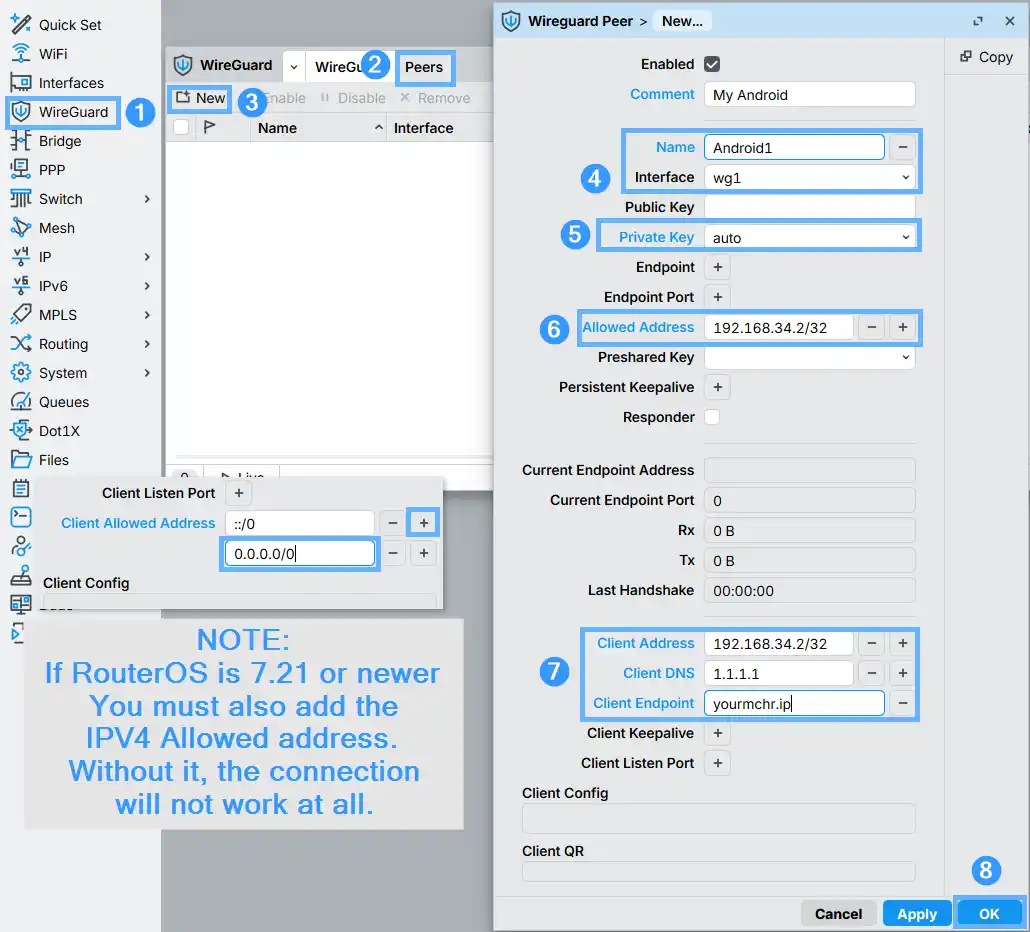
::/0. You must fill in the Client Allowed Address field (0.0.0.0/0 for full traffic redirect). Without it, the connection will fail silently — the tunnel will appear to connect but no traffic will pass through.Click OK to save the peer. RouterOS will automatically generate the key pair and build the client configuration. Scroll down in the peer dialog to see the Client Config section. This is what you will use to configure the device.
![WinBox WireGuard peer dialog showing the auto-generated Client Config section with [Interface] and [Peer] blocks (ListenPort, PrivateKey, Address, DNS, PublicKey, AllowedIPs, Endpoint) and a Client QR code area below it](https://bgocloud.com/images/kbimages/WireGuard-GeneratedConfiguration.webp)
CLI users can add, list, and print the configurationof each peers with QR code using the following commands (you will need a large terminal window to render the QR code):
List all peers:
interface wireguard peers print
List peer's configuration with QR code:
interface wireguard peers show-client-configuration 0 show-sensitive
This is the quickest method. RouterOS generates a QR code directly inside the peer dialog and you just scan it from your phone. No file transfers needed.
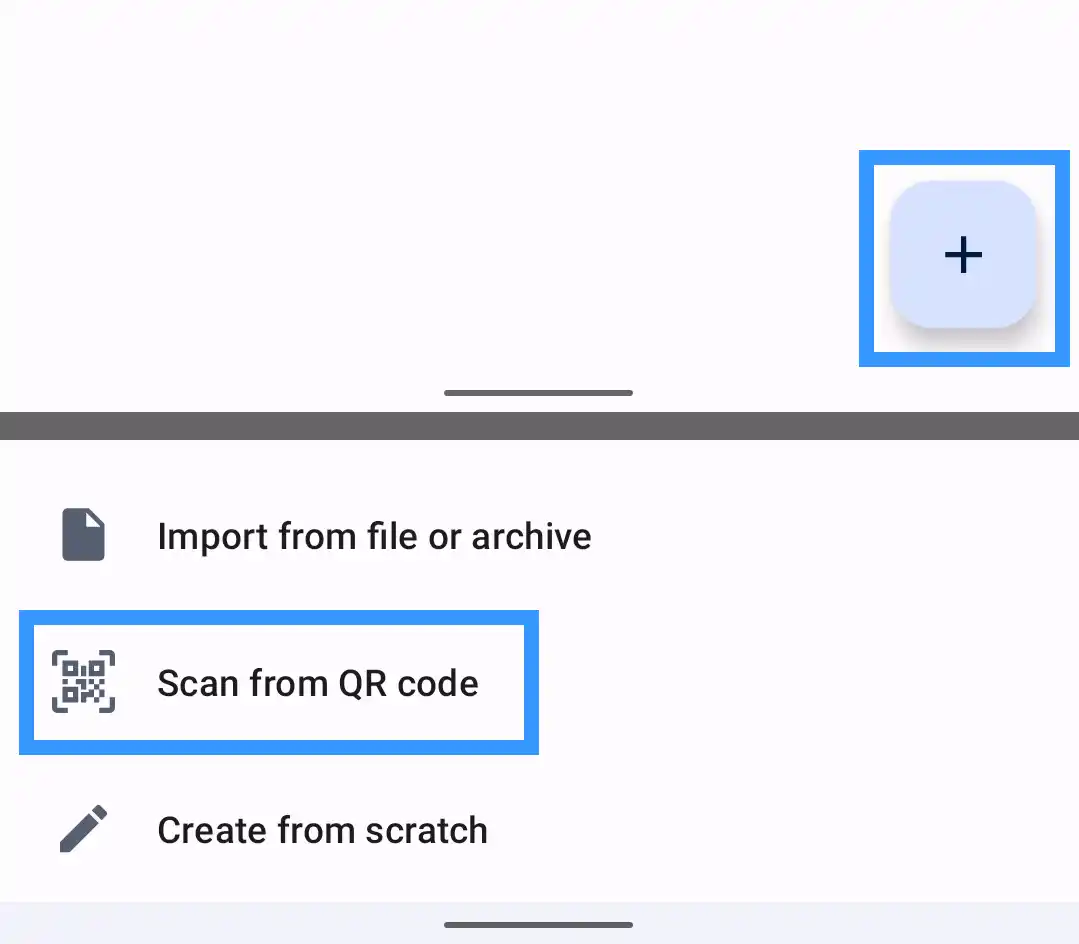
Open the WireGuard app on your phone and tap the + button. It's in the bottom-right corner on Android and the top-right corner on iOS. From the menu that appears, choose Scan from QR code.
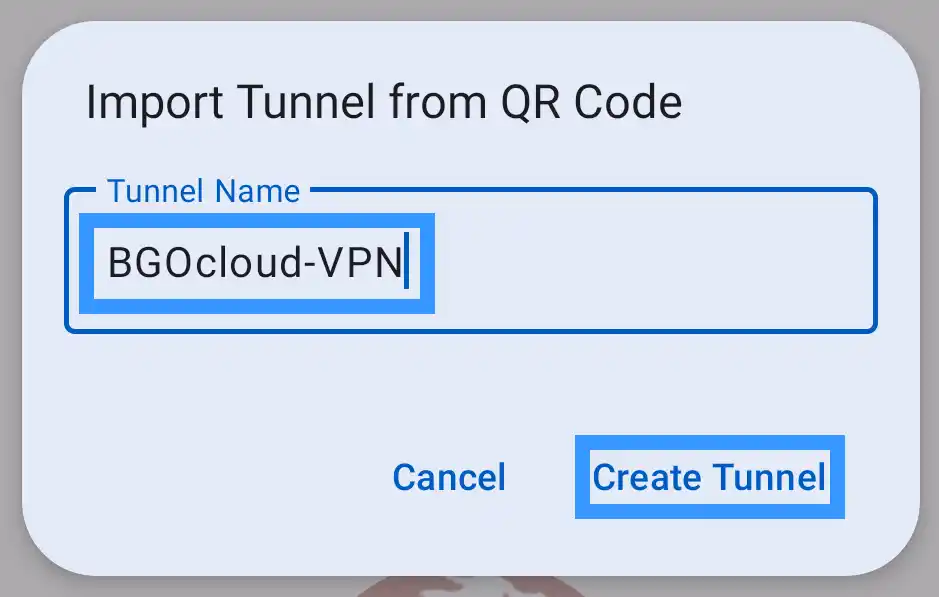
Allow the app to use the camera when prompted, then point your phone at the QR code shown in the WinBox peer dialog. Once it is detected, you will be asked to give the tunnel a name. Name it however you like and tap Create Tunnel.
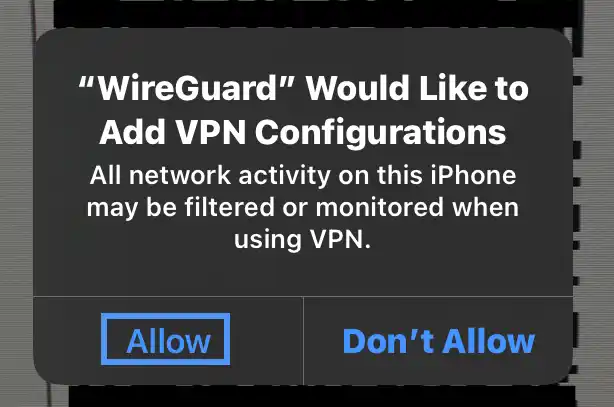
iOS only: after saving the tunnel, iOS will show a system prompt asking WireGuard permission to add VPN configurations. Tap Allow to proceed. This is a standard iOS security requirement for all VPN apps.
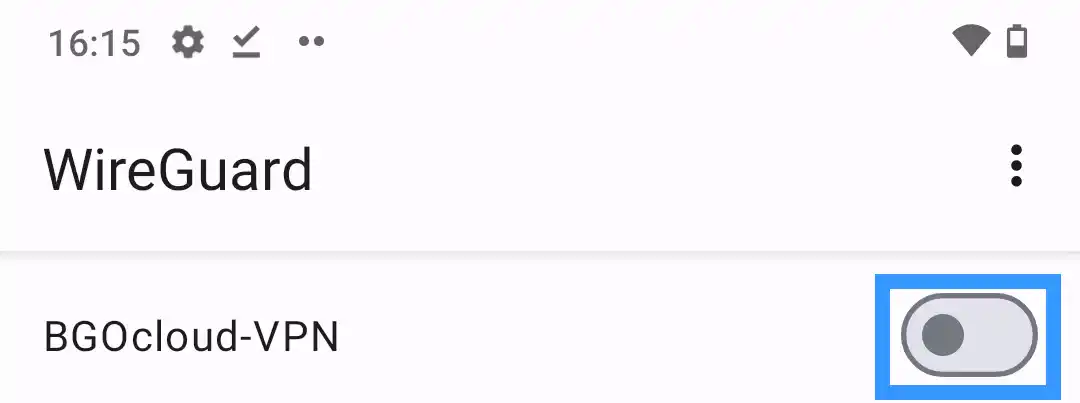
Once the tunnel is imported, tap the toggle next to it to test the connection. The tunnel should activate within a second or two.
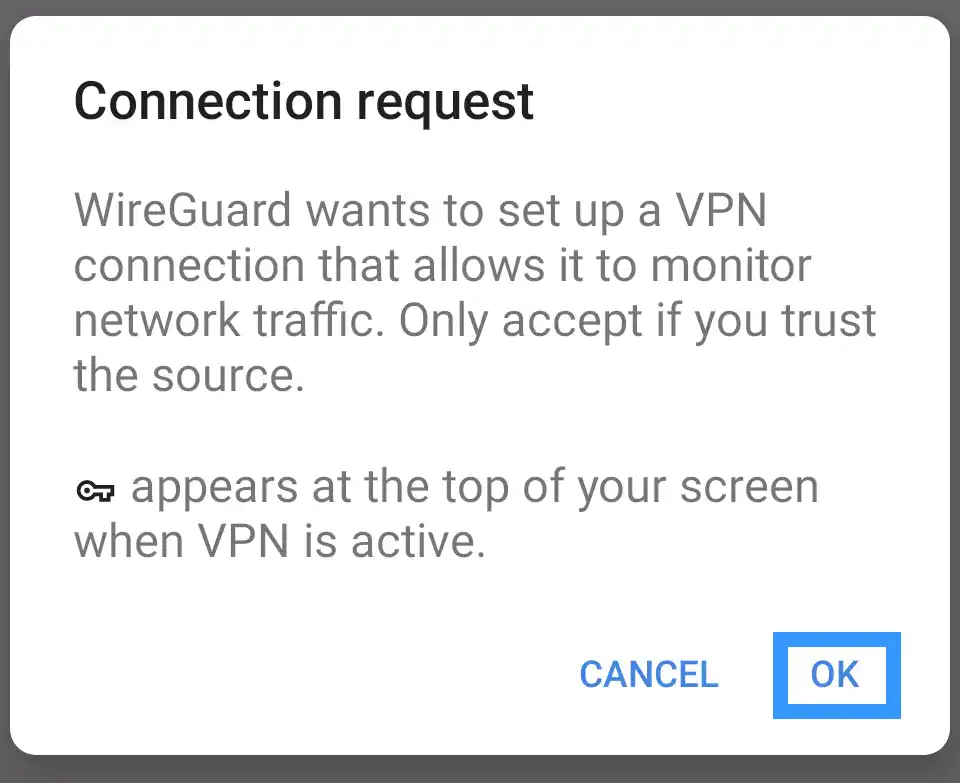
Android only: the first time you activate a VPN tunnel, Android will show a connection request dialog explaining that WireGuard will be able to monitor network traffic. Tap OK to allow it. This is a standard Android VPN permission.
If you have a working internet connection after enabling the tunnel, the setup is complete. If not and the traffic counters report ~92 bytes are received, not kilobytes, double-check the peer settings on the CHR. Particularly that the firewall rule for the WireGuard port is above any drop rules, and that the NAT masquerade rule is in place and that the right allowed IPs are set.
This method is useful when you want to distribute a ready-made configuration file to users, or when the QR code is not practical (e.g. remotely configuring a device). Create a plain text file with the .conf extension and paste in the following template, filling in your own values:
PrivateKey = <copy from the WireGuard app or use the one RouterOS generated>
Address = 192.168.34.2/32
DNS = 1.1.1.1
[Peer]
PublicKey = <public key of the WireGuard interface on your CHR>
AllowedIPs = 0.0.0.0/0, ::/0
Endpoint = yourmchr.ip:13231
private-key=auto when creating the peer, RouterOS already generated a key pair. You can find the private key in the Client Config section of the peer dialog in WinBox. Otherwise, generate a fresh key pair inside the WireGuard app and copy the public key to the peer on the CHR manually.Transfer the .conf file to your phone - via AirDrop, email, cloud storage, or any other method. Then import it into WireGuard.
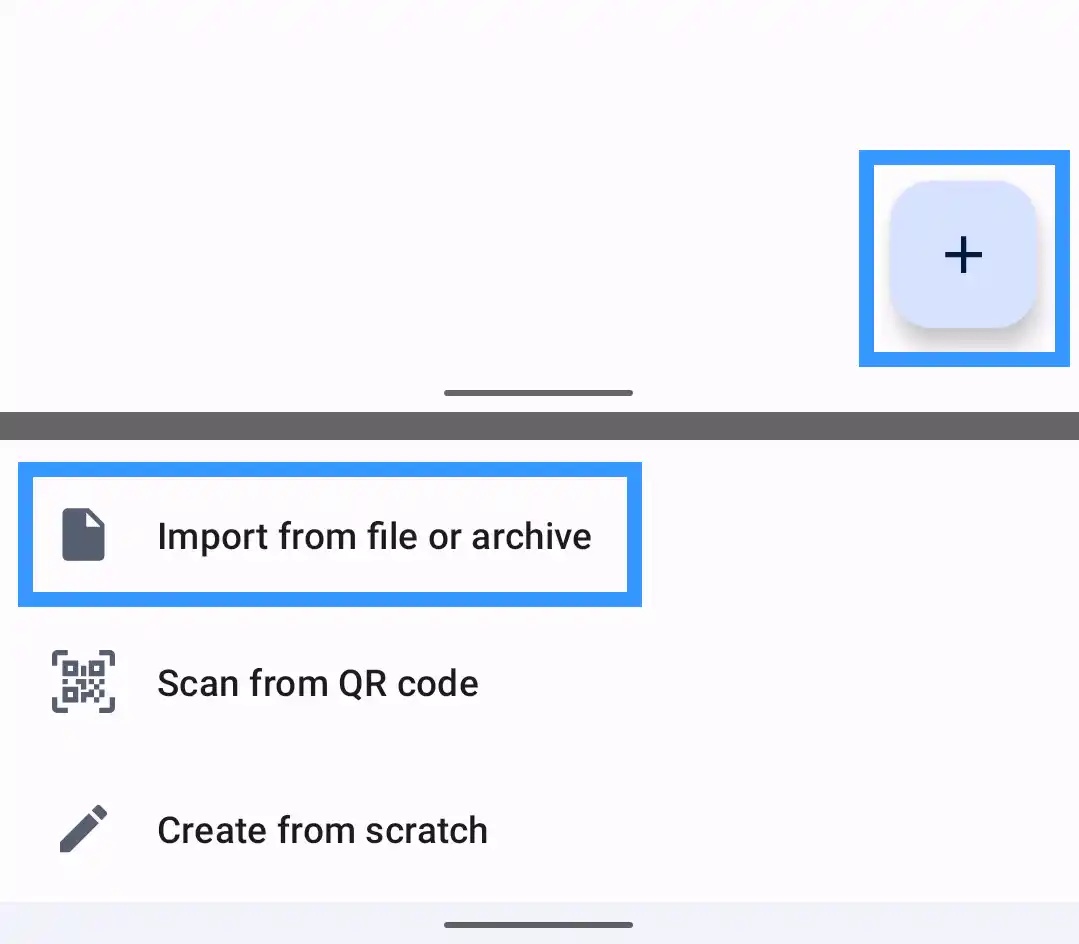
Android: open the WireGuard app, tap + and choose Import from file or archive. Locate the file and open it.
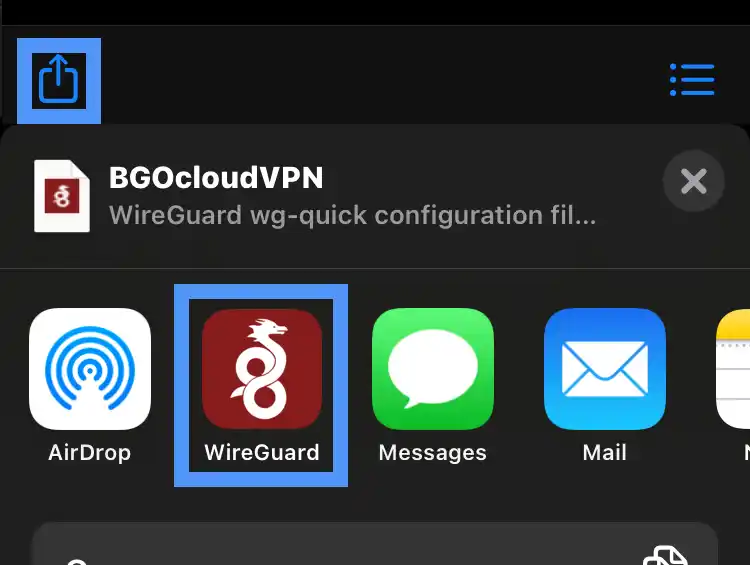
iPhone / iOS: locate the .conf file in Files or your Downloads folder, tap the Share button, and choose WireGuard from the share sheet. The tunnel will be imported automatically with the filename as its name.
Once imported, tap the toggle to activate the tunnel and test the connection. If everything is configured correctly you will have full internet access routed through your BGOCloud MikroTik CHR.
Related guides:
Don't have a MikroTik CHR yet? BGOCloud's MikroTik VPS plans give you a fully licensed RouterOS v7 instance deployed in under a minute — perfect for running your own private WireGuard VPN server. Everything in this guide works out of the box.