
BGOcloud WireGuard VPN Service: Quickstart guide
The BGOcloud VPN is a new VPN service that is easy to connect to with just one click or a tap. Based on the WireGuard protocol it provides privacy, speed, stability, and better encryption.
In this article we will show you how to quickly connect to our VPN service
You can import the configuration to as many devices as you need, but connect from only one device at a time. If you plan to use it on more devices, then you can buy more licenses.
Choosing the right plan
To get a license, choose the plan that best suits you.
After the payment is complete you will receive an confirmation mail. You can access the configuration in our Client Area.

Then click/tap on the VPN license you've bought.![]()
You will see connection details as well as the configuration.
Connecting to the VPN
Connecting to our VPN services is easy and it is done in couple of steps.
-
Downloading a WireGuard Client
First you need a WireGuard client. Any WG client will work. In this tutorial we will use the official clients, provided by the WireGuard team
Windows:
Download the official client from https://www.wireguard.com/install/ and install it.
Linux Desktop:
Install Wireguard via the terminal:
$ sudo apt install wireguard
Then to manage tunnels more easily from GUI, you can use application, such as WireGUIrd.
macOS / iOS:
Download the official WireGuard app from the Appstore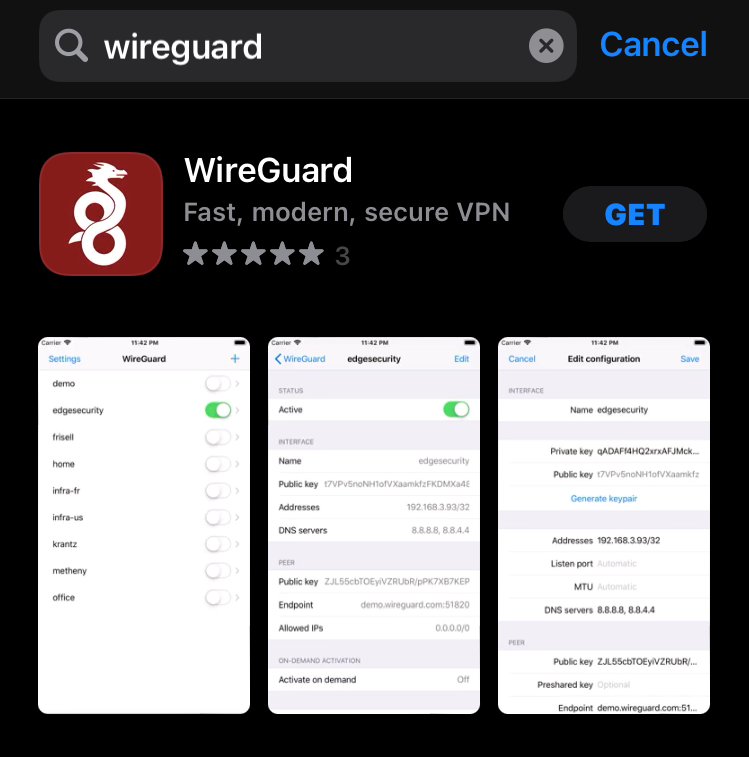
Android:
Download the official WireGuard app from the Play Store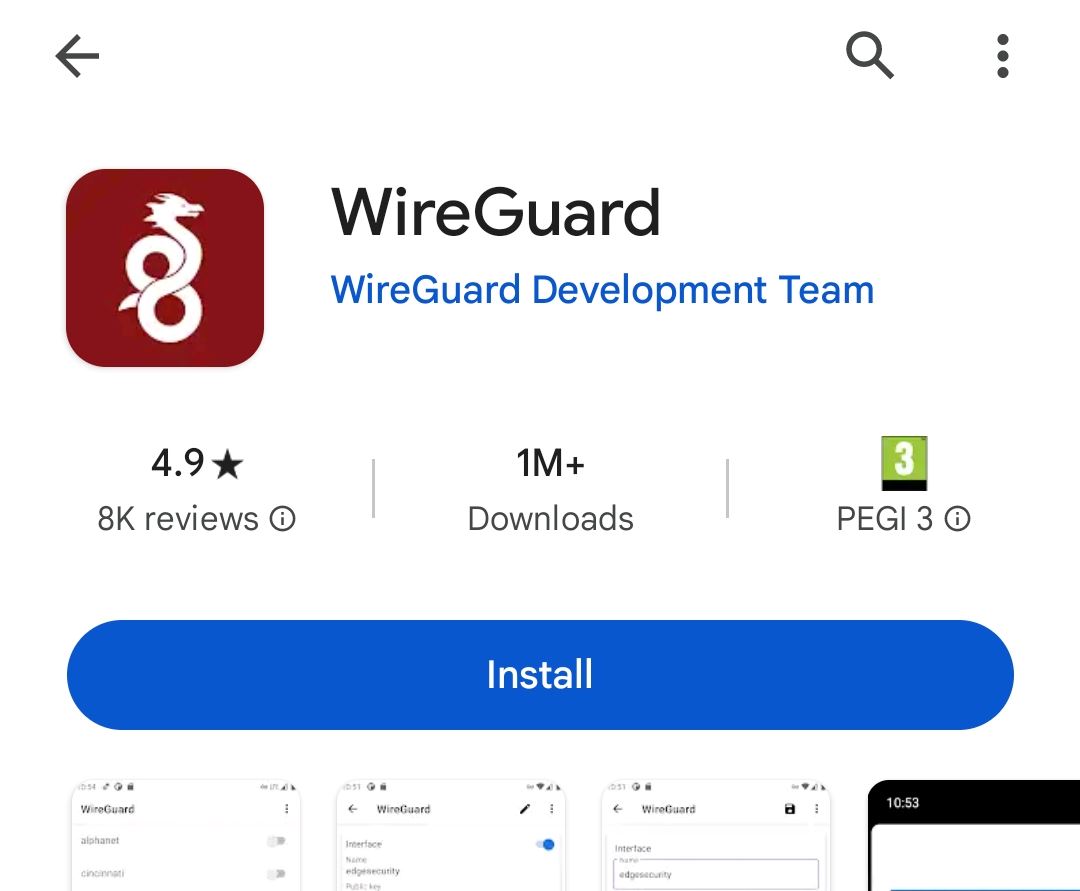
-
Importing the profile
Log in to the Client Area and go to Products/Services, then select the BGOcloud VPN service. Below you will see a QR code and the configuration in text and as a file download.
Windows / macOS / Linux:
Download the configuration file by clicking on Download config Then open the WireGuard app (in Linux open WireGUIrd). Click on Add Tunnel and locate the saved file.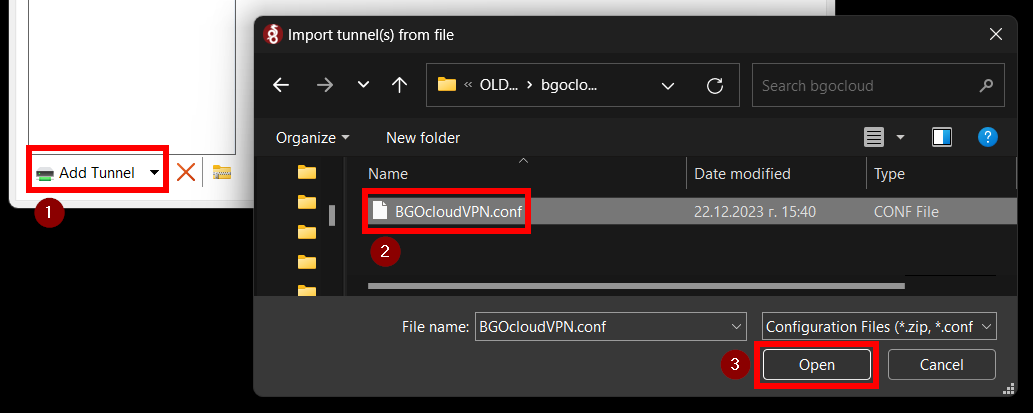
If you use macOS, you may be asked to accept that the program will create VPN tunnels. Accept it.
Android / iOS:
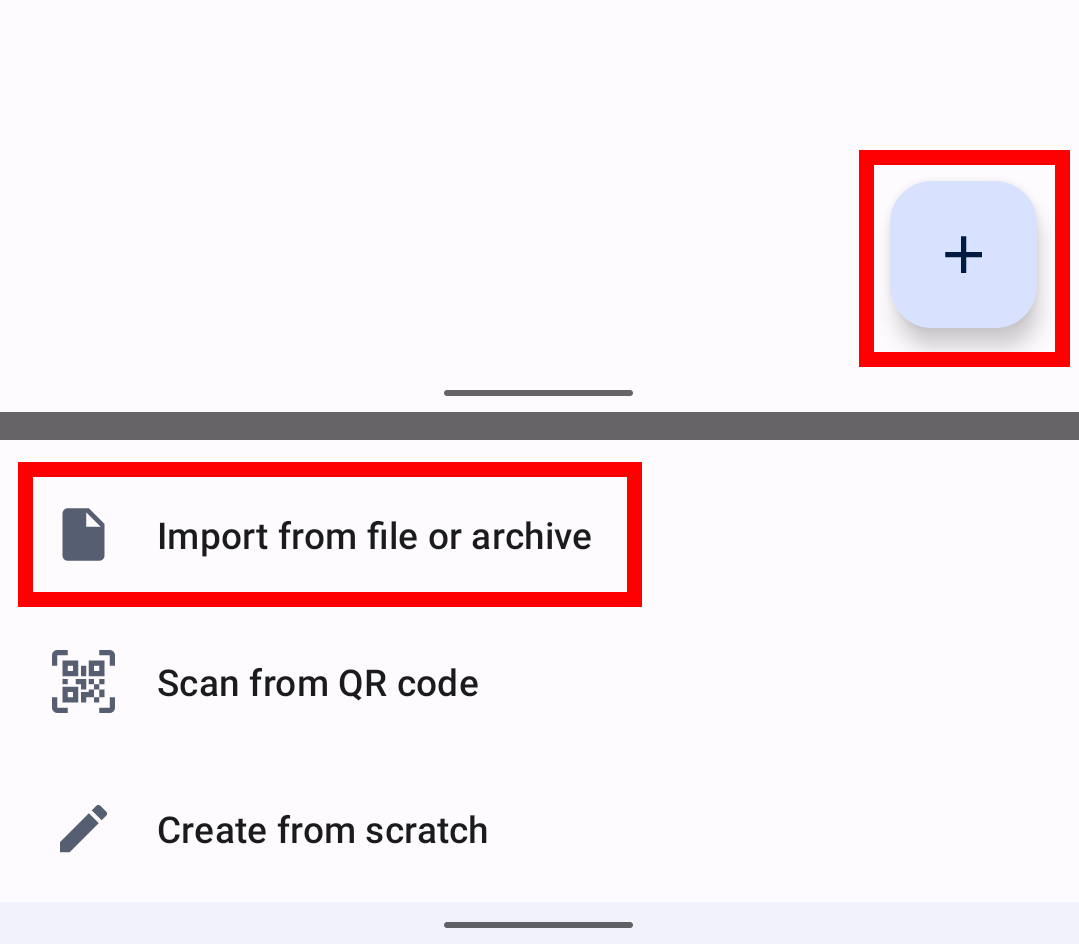
Open the WireGuard app and tap on the + at the bottom right or Add Tunnel, and then tap on scan from QR code.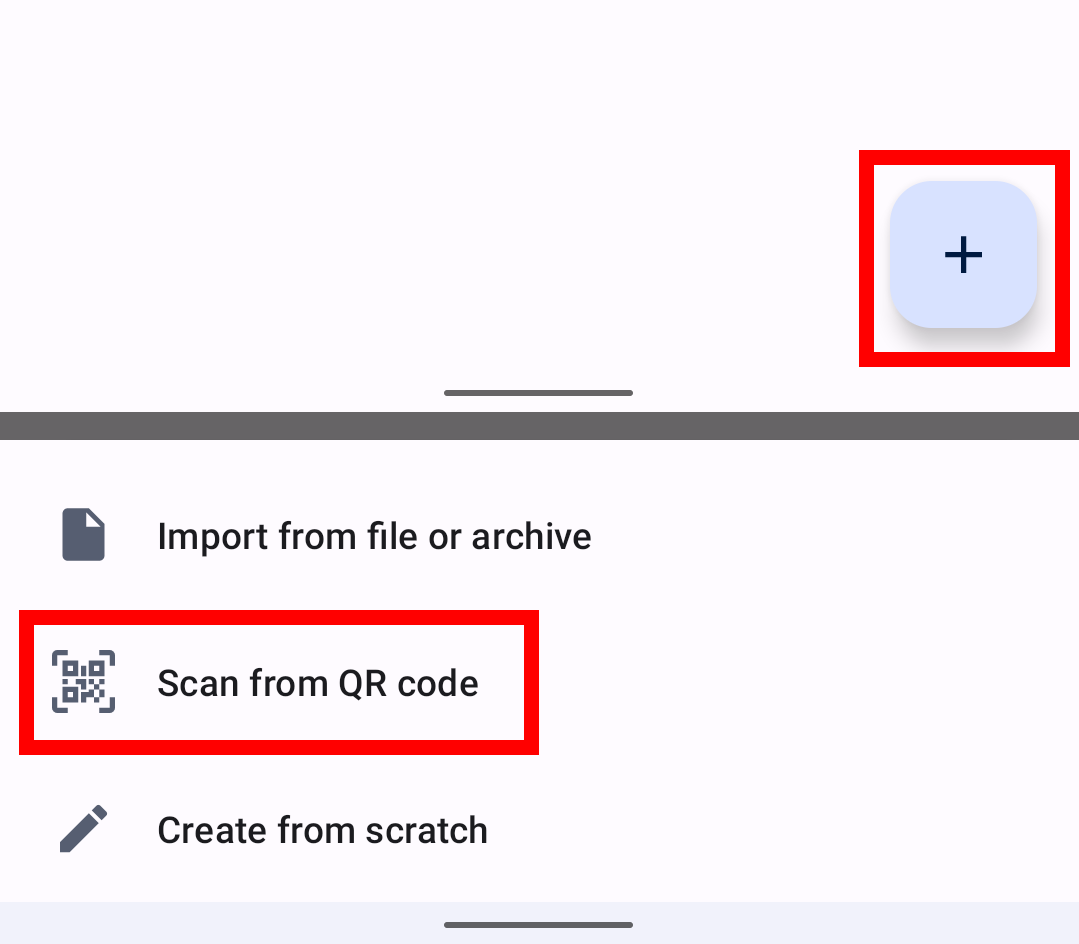
Then point the camera to the QR code on the screen. After it vibrates, name the tunnel as you like and save it.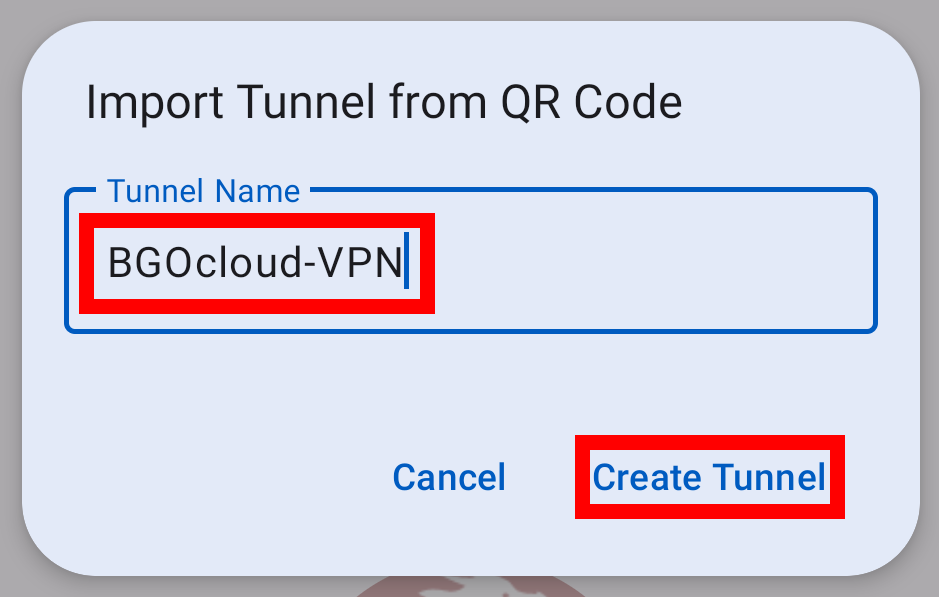
If you have logged in BGOCLOUD.COM in your phone, then you can download the config. After that open the WireGuard APP and tap on the + or add tunnel and then on Create from file or archive.
Then locate the file. After that the tunnel should be imported.
In iOS you can directly import the file by tapping the share button and selecting WireGuard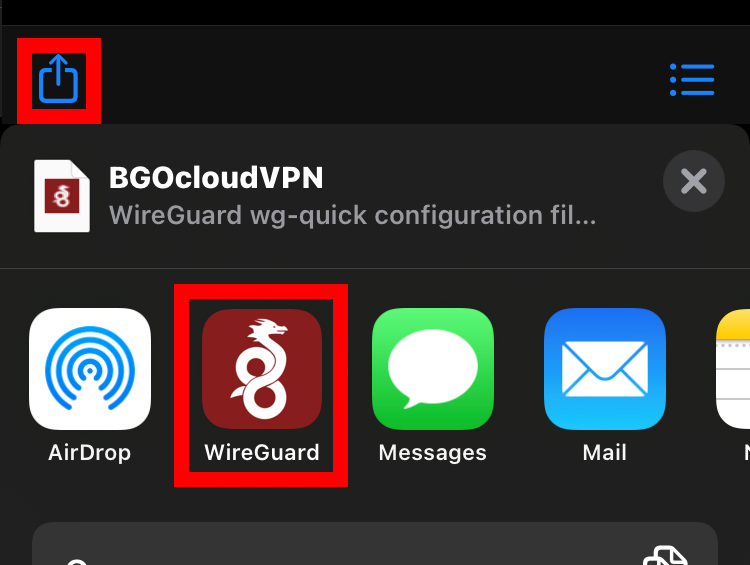
You may be asked to accept that the program will create VPN tunnels. Accept it.
-
Connecting and enjoying content from other countries
After the profile is imported, establishing the connection is as easy as clicking on Activate, or tapping on the toggle next to the profile.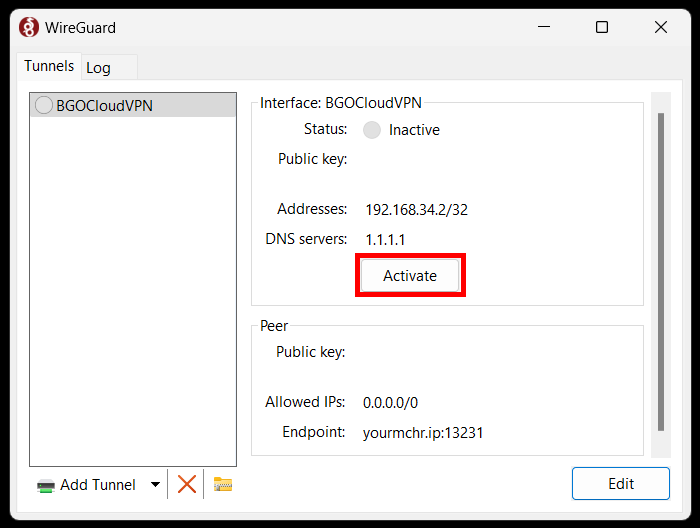
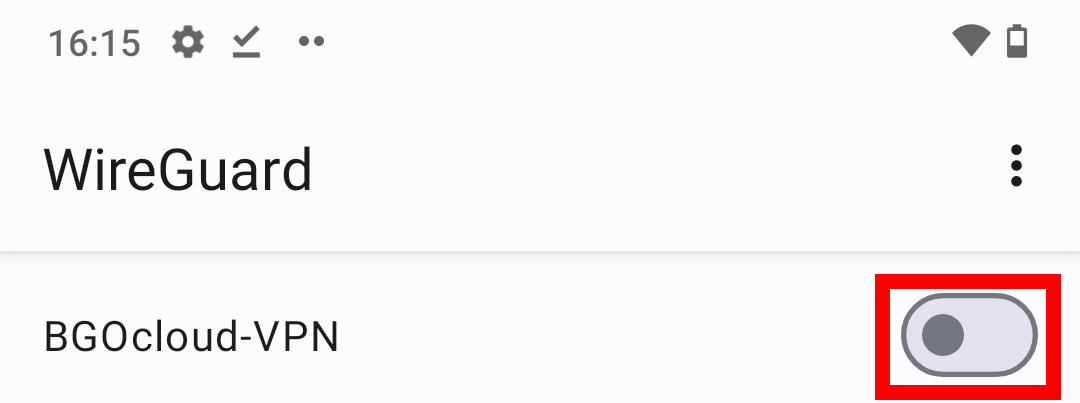
If you use Android, accept the VPN connection prompt
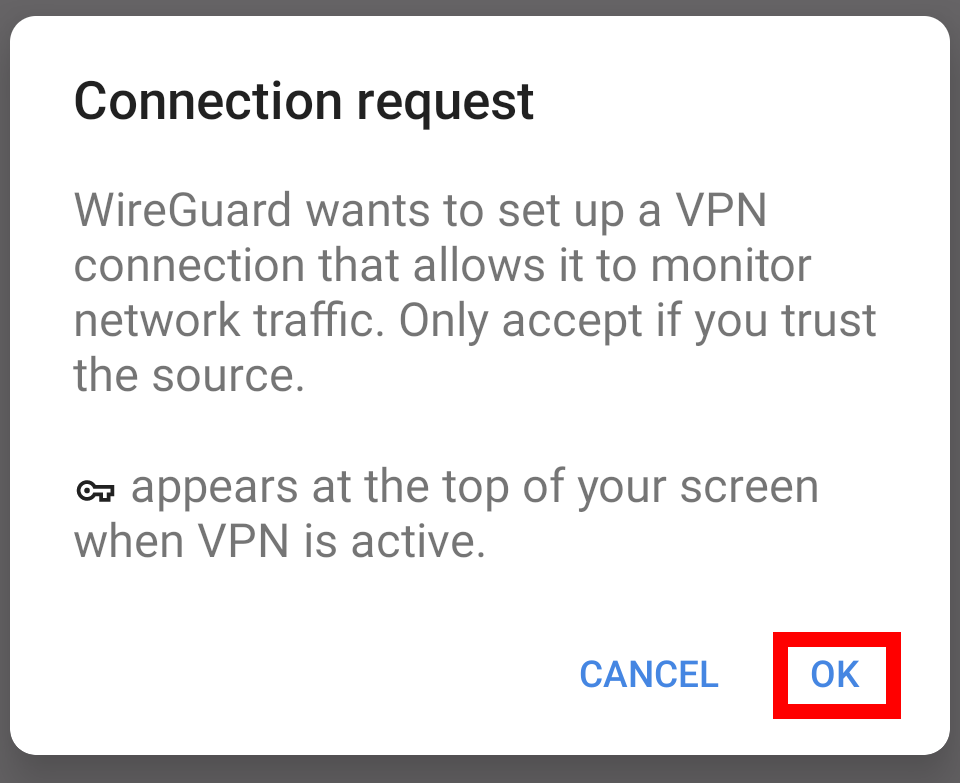
And that’s it, you can enjoy better privacy with the new BGOCloud WG VPN